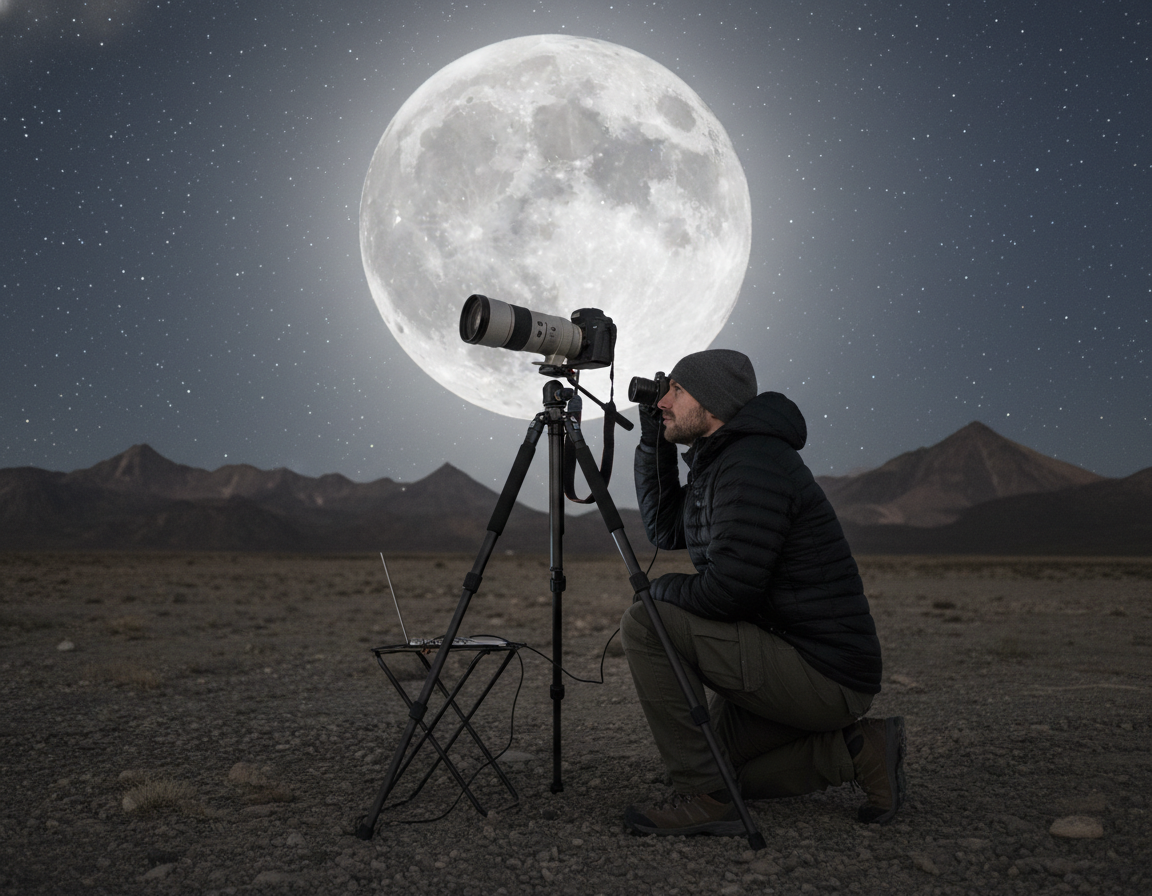
Welcome. This concise beginner-friendly introduction sets you up to get better results fast with night photography. You will learn what to bring, how to stabilize your camera, and simple exposure starting points that repeat reliably.
We treat low-light work as a practical skill, not magic. Expect clear explanations of the exposure triangle, long shutter speeds, and easy recipes to start shooting tonight. The article covers two big branches: city and landscape scenes with artificial light, and night sky work—Milky Way, stars, and star trails.
The layout is simple: planning → gear → setup → exposure → settings recipes → focusing → composition → post-processing. You can skip to the section you need or follow in order for full context.
Plan for safety and success: use a stable tripod technique, spare batteries, and check weather and access for after-dark shoots. For extra tips on star-sky shoots see night-sky photography tips.
What Night Photography Is and Why It Looks Better After Dark
When daylight fades, familiar streets and parks reveal new shapes and colors. Shooting in low light means working between last light and first light, and it often leans on artificial light—streetlamps, signs, and car beams—to shape the scene.
Low-light scenes, artificial light, and the “ordinary becomes cinematic” effect
Neon, headlights, and reflections add color contrast and clear visual structure. A common subject can feel cinematic because pools of light and deep shadows direct the eye.
Common challenges: focus, exposure, and noise in night photos
- Technical reality: the camera needs more time or sensitivity to gather light, which shifts decisions on shutter speed, ISO, and aperture.
- Beginner pain points: getting a clean exposure, reliable focus, and controlling noise in dark areas.
- Dynamic range: bright highlights can blow out while shadows go black, so exposure decisions matter more than usual.
Good news: once the camera is stabilized and settings are chosen systematically, shooting after dark becomes far more predictable and less intimidating.
Planning a Night Shoot for Better Results
Good planning turns a risky after-dark shoot into a smooth, productive session.
Start by checking weather and wind. Cloud cover hides stars and haze blooms city light, cutting clarity. Wind can shake a tripod and blur long exposures, so look for calm windows.
Moon, light, and location
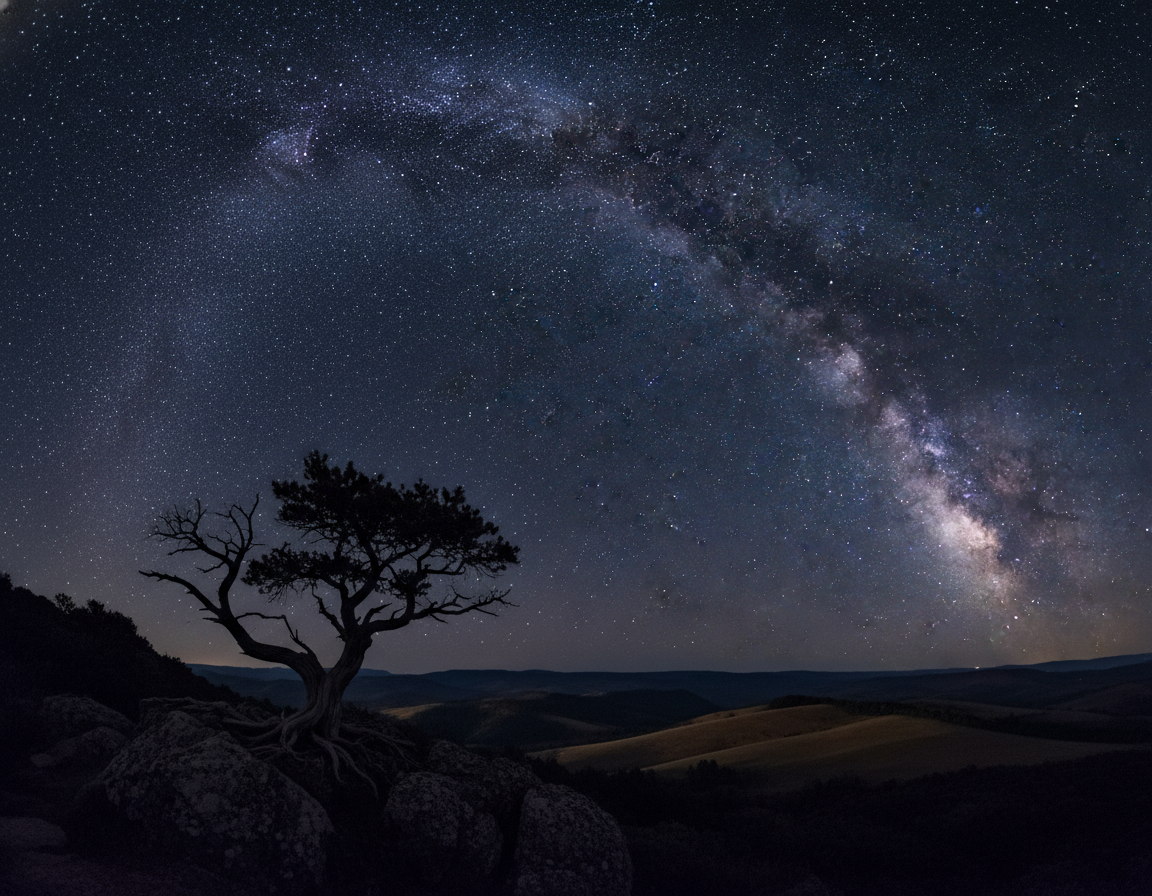
The moon phase reshapes your scene. A moonless sky is best for the Milky Way. A bright moon can light a foreground but will wash out faint stars.
Light pollution is controllable. Move away from city centers for astrophotography, or use urban glow intentionally for creative city work.
Apps and timing that also help
Use PhotoPills or Star Walk 2 to check moonrise, moonset, and Milky Way position. Stellarium and TPE are solid alternatives for planning exact time and framing.
Practical checklist
- Scout locations in daylight for safety and foreground options.
- Confirm access hours, parking, and backup spots.
- Pack a simple checklist: tripod, extra batteries, headlamp, and a plan B if conditions change.
Equipment Night Photography Essentials You Actually Need
Stability and light control are the two pillars of successful evening shoots. Keep your kit simple: a reliable camera, a sharp lens, and a sturdy tripod are the real must-haves for beginners.
Camera tripod basics for long shutter speeds
Long shutter speeds often exceed one second, so stabilization is non-negotiable. Use a tripod with solid legs, lock the head, and lower or avoid the center column when possible.
Place the feet on firm ground and shield the setup from traffic or gusts to reduce vibration.
Remote shutter release vs. the 2-second timer
A remote cuts camera shake on multi-second exposures. If you don’t have one, the 2-second timer is a good backup.
Even a gentle finger press of the shutter button can blur a long shutter image, so avoid touching the camera during the exposure.
Small light and lens hood
A flashlight or headlamp speeds setup, helps level the tripod, and gives contrast for autofocus. A lens hood blocks stray street light and neon flare, preserving contrast.
Spare batteries
Long exposures and Live View drain power quickly. Carry extras and keep them warm in cold weather to avoid a short session when your camera dies.
Camera Setup Before You Press the Shutter Button
Before you frame a shot, run a quick camera checklist to avoid surprises in low light.
Shoot RAW as your default file format. RAW gives far more latitude for highlight recovery, shadow detail, white balance fixes, and stronger noise reduction on images shot after dark.
Turn off image stabilization when the camera is mounted on a tripod. IS can introduce tiny movements during long exposures and reduce sharpness. Lock the tripod and avoid the center column when possible.
Choose a practical mode for the scene
Aperture Priority is a good bridge while learning. Set the aperture you want and let the camera pick the shutter speed. Use Manual mode when you need full control of shutter and exposure for consistent results.
- Confirm focus mode and check Live View if AF struggles.
- Disable image stabilization on the lens or body while on a tripod.
- Set RAW, disable flash, and enable a 2-second timer or remote to avoid camera shake.
- Take one test shot, check the histogram and adjust ISO or shutter as needed.
When you are ready, calmly press shutter button. Then review and make small changes rather than repeatedly changing multiple settings in the dark. This routine keeps the camera working for your composition and keeps shooting time high during any night session.
Exposure Basics for Night Photography: ISO Shutter Speed Aperture
Exposure choices at dusk force clear trade-offs between motion blur, sharp depth, and image noise.
The exposure triangle shifts when there isn’t enough light. Increasing shutter seconds gathers more light but risks motion. Opening the aperture brightens the frame and reduces depth field. Raising ISO rescues shutter speed but adds visible noise in dark regions.
Shutter seconds and practical use
Shutter speed seconds are often whole seconds for low-light scenes. A longer shutter lets you use a lower ISO and cleaner files. Use a tripod to avoid blur when exposures exceed one second.
Aperture and depth control
Open the aperture to keep ISO low and freeze detail with shorter shutter seconds. Stop down when you need edge-to-edge sharpness or a starburst from streetlights.
Managing higher ISO and noise
Higher ISO or higher ISOs rescue the shutter, but they increase noise, especially in shadows. Prefer a tripod and small shutter speeds to keep ISO practical.
Balancing highlights and shadows
City scenes have bright highlights and deep shadows. Protect highlights from clipping by checking the histogram and using small incremental exposure changes.
| Setting | Benefit | Drawback |
|---|---|---|
| Long shutter seconds | Lower ISO, cleaner image | Motion blur if not stabilized |
| Wide aperture | Brighter frame, shallower depth field | Less edge sharpness at small apertures |
| Higher ISO | Shorter shutter speed possible | More noise in dark areas |
Tip: Practice small adjustments and check the histogram. For more exposure recipes and step-by-step settings, see this exposure settings resource.
Starter Night Photography Settings You Can Use Tonight
Start with a predictable camera recipe so you spend less time guessing and more time shooting.
Baseline (Aperture Priority): set aperture to f/5.6 and ISO to 400, then check where the shutter speed lands. On a tripod this often ends up at a few seconds, which gives clean exposure with moderate depth of field.
How to adjust without guessing: if the shutter speed is too long for moving subjects, raise ISO in controlled steps (800, 1600). If noise becomes noticeable, lower ISO and accept longer shutter seconds. Use the camera’s histogram and a quick test frame to confirm.
Quick test-frame workflow
Do a fast high-ISO test shot to nail composition and brightness, then return to the cleaner ISO for the final shot. Log the final settings mentally or in notes so you learn which combinations work for streets, bridges, and landmarks.
No tripod? Practical fallback
Open the aperture fully and raise ISO toward 1600–6400, but expect camera shake unless you brace the camera on a wall, railing, or the ground. Stabilization matters more than ever when there isn’t enough light.
Night Sky and Astrophotography Settings Without Star Trails
Start with a proven exposure recipe and then tune for your lens and sky conditions.
A reliable baseline: 15 seconds, f/2.8, ISO 6400. This combo collects plenty of light while keeping stars as points on many full-frame and APS-C cameras.
When your lens can’t reach f/2.8
If your lens only opens to f/4 or f/5.6, raise ISO in steps or add a few more seconds to the shutter speed. Balance the trade-off: more seconds reduce the need for a much higher ISO but risk blur from Earth’s motion.
Why longer isn’t always better
Earth’s rotation creates star trails as exposure time increases. Even on a tripod, long shutter seconds can turn points into short streaks.
“Use a fixed starting point, then adjust for sky brightness and foreground needs.”
The 500 Rule
For a quick limit, divide 500 by your focal length (500 ÷ focal length = max shutter seconds). Tighten that number for high-resolution sensors or wide-angle lenses to avoid subtle blur.
- Watch moonlight and light pollution; they can force shorter exposures or lower ISO to protect highlights.
- Always confirm critical focus—small errors are obvious at star scale.
Long Exposure Techniques for Light Trails and Motion Effects
Long exposures turn movement into graphic elements that reshape a scene. Motion becomes design: cars draw ribbons of color and flowing water melts into glassy textures. These techniques let you show time, not just a single moment.
Car light trails need timing. Open the shutter before vehicles enter the frame and close it after they exit. Aim for shutter speeds of several seconds so streaks are continuous rather than dashed. Position your tripod near the road and test a few passes to get the ideal length and brightness.
For fountains and streams, use longer shutter seconds to smooth turbulence while keeping nearby buildings sharp on a tripod. Lower ISO and a smaller aperture help avoid blown highlights from nearby lights.
Bulb mode and star trails
Bulb mode keeps the shutter open beyond 30 seconds and pairs well with a remote or intervalometer. Use it for single ultra-long exposures only when sensor heat and battery drain are manageable.
For star trails, stacking multiple shorter frames usually beats one extreme exposure. Stacking reduces sensor noise, saves battery life, and still yields continuous trails when combined in software.
- Iterate: tweak exposure time and aperture to control trail brightness.
- Watch highlights from streetlights to avoid clipping.
- Record settings for repeatable results.
| Technique | Typical shutter | Benefit |
|---|---|---|
| Car light trails | 2–10 seconds | Continuous streaks, dynamic composition |
| Water blur | 1–30 seconds | Silky water, smooth textures |
| Bulb single exposure | 30 seconds–minutes | Very long trails, single-frame capture |
| Stacking for star trails | Multiple 20–60s frames | Lower noise, better battery life |
Best Subjects for Night Photos in Cities and Landscapes
Pick scenes with built-in contrast and structure to simplify low-light shooting. Good subjects give you steady illumination and clear shapes that read well on camera.
Well-lit buildings, museums, and public landmarks
Why they work: predictable light and strong architecture make composition easy. These spots are great for a beginner shot and for learning how a lens handles highlights.
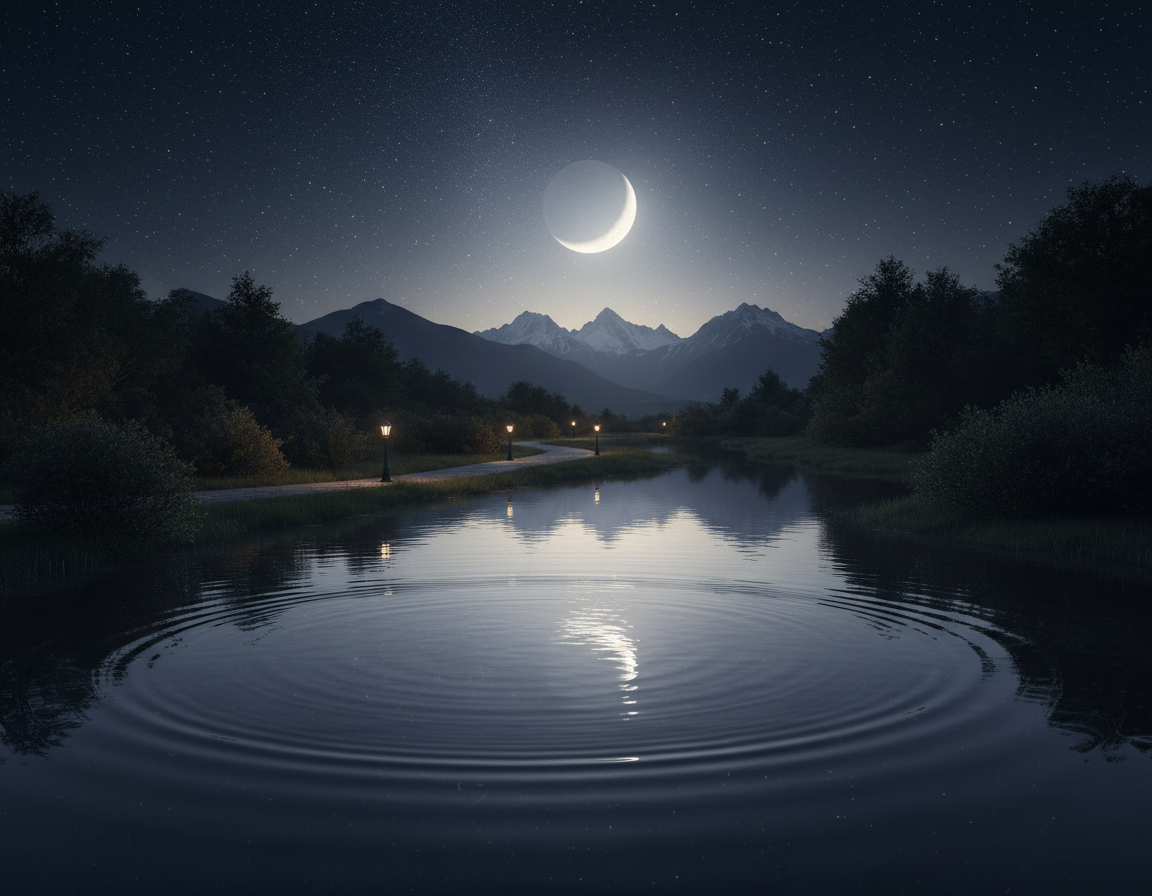
Bridges, waterfronts, and reflections
Bridges combine structure and motion. Water softens in long exposures and adds depth. Use longer shutter seconds to boost reflections and create a pleasing picture.
Streetlights, puddles, and leading lines
Streetlights act as anchors and lead the eye. After rain, puddles offer instant reflections that add foreground interest without a dramatic location.
Overlooks and skyline foregrounds
A skyline can feel flat without a foreground. Add railings, trees, or textured ground to create depth and make the final photo more intentional.
- Reliable subjects: landmarks, fountains, bridges, light trails, and puddle reflections.
- Tip: pick a subject with steady light and obvious shapes to improve your night photography results faster.
How to Focus in the Dark When Autofocus Struggles
Getting sharp focus in low light is mostly about creating contrast where the camera can see it.
Why autofocus fails: Most AF systems need contrast. Dark scenes and flat tones give no edges to lock. That makes the camera hunt and miss.
Focus on a bright edge, then recompose before you press shutter
Point your AF area at a bright-dark boundary, like the rim of a streetlamp or a lit sign. Lock focus and recompose carefully if distance stays the same. Then press shutter.
Use a flashlight to create contrast for autofocus
A small flashlight or headlamp adds a temporary highlight on a foreground subject. Aim the beam where the AF point sits. That contrast is usually enough for a quick, reliable lock.
Manual focus with Live View zoom for critical sharpness
Switch to Live View and magnify a bright distant light or an architectural edge. Turn the focus ring slowly until details look razor sharp. Use a low ISO test and a short shutter to confirm.
Infinity focus and hyperfocal distance basics
Don’t trust the infinity mark. Verify by zooming on a distant light or star. For landscapes, use hyperfocal distance to keep foreground and background sharp with wider apertures.
“Create contrast first, then refine focus—simple steps give consistent sharp images.”
| Technique | When to use | Benefit |
|---|---|---|
| Bright-edge AF | City lights, signs | Quick lock, minimal setup |
| Flashlight assist | Dark foreground subjects | Adds contrast for autofocus |
| Live View manual | Critical architectural or star focus | Pixel-level accuracy |
| Hyperfocal check | Wide-angle landscapes | Max depth field for scene |
Composition Tips That Make Night Photography Look Intentional
Strong composition turns simple night scenes into intentional images that read clearly at a glance. With fewer lit elements, every bright shape matters. Plan placement so lights lead the eye instead of fighting each other.
Rule of thirds, framing, and symmetry for cleaner designs
Place horizons and landmarks on thirds to create balance. When reflections appear, symmetry can be powerful—center the frame to emphasize mirrored lines.
Use architectural arches, railings, or bridges to frame a subject without adding more light to the scene.
Negative space and silhouettes to let darkness do the work
Negative space is an active choice: keep large areas dark to direct attention to the lit subject. This makes the image feel deliberate and calm.
Build silhouettes by placing the subject between your camera and a light source. Keep edges crisp so the outline reads at thumbnail size.
Bokeh and shallow depth of field using wider apertures
Use a wider aperture on a fast lens to blur background lights into pleasing bokeh. A longer focal length and shallow depth field isolate the subject and turn busy lights into soft orbs.
Tip: stop down slightly if you need a bit more edge detail while keeping attractive background blur.
| Technique | When to use | Effect |
|---|---|---|
| Rule of thirds | Horizons, landmarks | Balanced, natural composition |
| Symmetry | Reflections, bridges | Strong, formal impact |
| Negative space | Isolated lights or subjects | Focuses attention, simplifies scene |
| Bokeh / wide aperture | Portraits, street lights | Soft backgrounds, subject separation |
Post-Processing Night Photography: Fix Highlights, Color, and Noise
A careful edit can rescue a dim scene and turn it into a clear, mood-rich image. Start by opening the RAW file and setting a sensible exposure balance.

Recover highlights and restore color
Pull back the Highlights slider in Lightroom or ACR to tame blown streetlights and signs. RAW files often retain color that appears clipped in JPEGs, so recovery restores hue and saturation.
Shadows and blacks: lift with purpose
Lift shadows only where you need foreground detail. Keep some blacks truly dark to preserve mood and contrast.
White balance for mixed light
Auto white balance often works in RAW, but set a custom Kelvin between 3000K–5000K for consistent results with LED, sodium, and neon. Tune tint to remove green or magenta casts.
Noise reduction workflow
Apply noise reduction after exposure and color fixes. Use Lightroom, Photoshop, or Topaz DeNoise and balance cleanup with detail retention to avoid plastic-looking areas.
Final polish: sharpen and local dodge/burn
Finish with targeted sharpening, clarity on edges, and selective dodge and burn to guide the eye. Small local adjustments make images feel crisp without over-processing.
“Correct exposure balance first, then white balance, then noise, then sharpening — that order saves time and preserves detail.”
| Step | Tool | Outcome |
|---|---|---|
| Exposure balance | Lightroom Exposure/Highlights | Recover detail, set overall tone |
| Color / White balance | Kelvin/Tint | Consistent color under mixed light |
| Noise reduction | Lightroom / Topaz | Cleaner shadows at higher ISO |
| Sharpen / Dodge & Burn | Photoshop Masks | Guides attention, enhances texture |
Conclusion
Finish each session with a short, repeatable routine. Secure the tripod, shoot RAW, take one test frame, then adjust shutter speed, aperture, or ISO—change only one variable at a time.
Start with the baseline settings from this night photography guide and use that test frame to learn quickly. Keep your camera stable and make measured changes so results become predictable.
Focusing is a skill. Use bright edges, a flashlight assist, or Live View manual focus to lock sharp results every time.
Manage noise by keeping ISO reasonable, protecting highlights during exposure, and using modern noise reduction in post.
Practice on reliable subjects: landmarks, bridges, reflections, streetlights, and light trails. Repeat this process whenever you head out after dark with your camera to build steady progress.