This guide explains how to photograph the moon with repeatable settings and a clear workflow. The goal is crisp lunar detail, believable exposure, and frames that work for both close-ups and wide landscapes. Expect to iterate; success comes from taking many frames and refining them in post.
This short guide teaches practical moon photography steps for DSLR and mirrorless camera bodies. You will learn planning, lens choice, manual exposure, focus locking, and vibration control. Shooting RAW gives flexible editing for final images and photos will improve with practice.
Use common gear: a modern camera, a telephoto lens, and a sturdy tripod. Start with what you own before upgrading. Key principles repeat throughout: protect highlights, use a fast-enough shutter speed, and prioritize stability and focus accuracy. These tips and techniques make field work more reliable when the rise window is brief.
What Makes Moon Photography Tricky (and Totally Doable)
A bright, distant orb in a dark sky creates predictable exposure and sharpness traps. The contrast between a sunlit surface and black sky confuses many camera meters. That mismatch is the root cause of blown highlights and lost texture.
Exposure mismatch: Auto or evaluative mode averages the scene, brightening the frame so the small, bright object becomes a white blob. When highlights clip, crater detail and surface texture vanish.
Metering matters. Spot metering or manual exposure targets the disk and preserves detail. Using a corrected reading is a simple step toward consistent image results.
Sharpness killers
At long focal lengths, tiny tripod flex, wind, or a finger on the shutter blurs fine detail. Internal mirror movement on DSLRs and slow shutter speeds make things worse.
Atmospheric turbulence adds a second problem. When the subject sits low, you shoot through more air and see more shimmer. A technique called “lucky imaging” helps by capturing many frames and keeping the sharpest ones.
“Stable setup + fast shutter speed + precise focus + correct exposure = repeatable results.”
- Use a rigid tripod and remote release.
- Choose a shutter speed that freezes motion and vibration.
- Repeat frames and pick moments of steady air.
Plan and technique beat expensive gear for most photographers. For a practical workflow that expands on these steps, see this practical workflow.
Plan the Shot Around Moon Phases, Rise/Set Times, and Twilight
Choosing phase and timing shapes whether you capture crisp surface texture or a cinematic landscape companion.
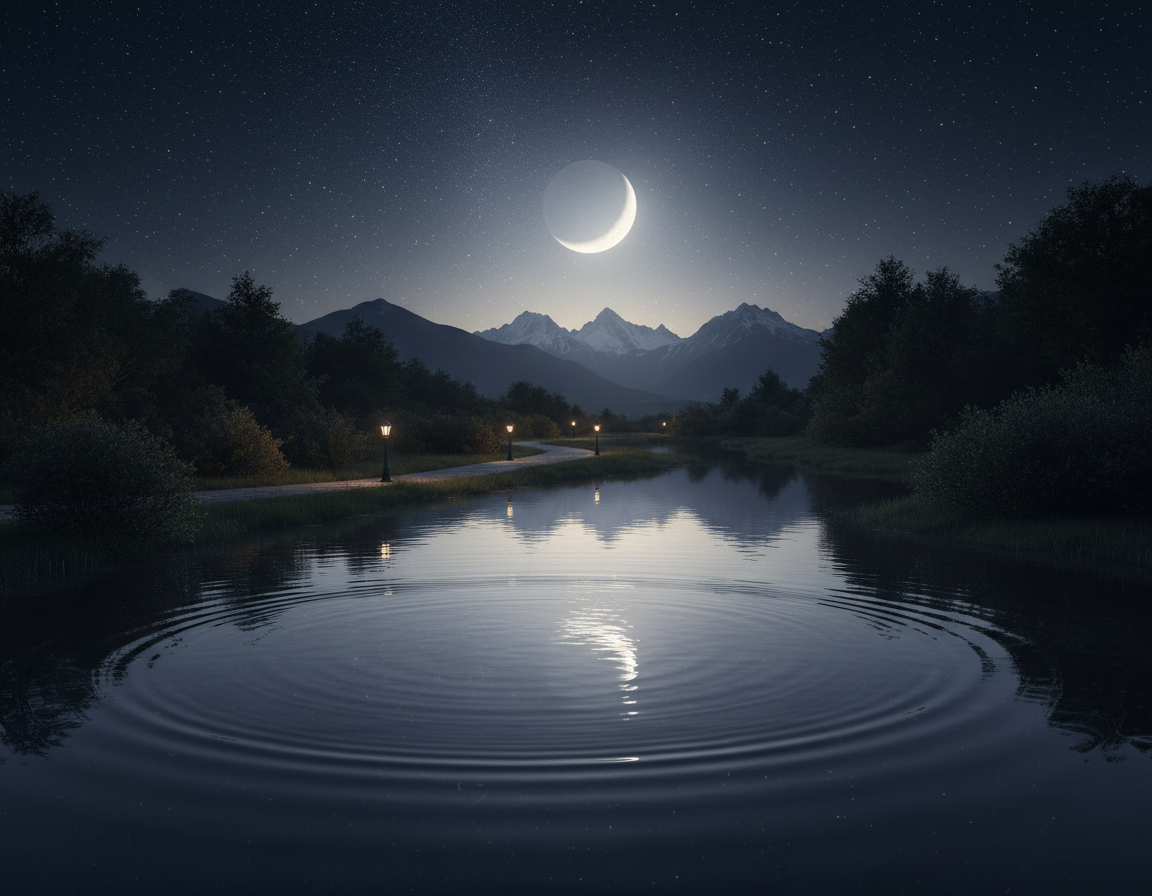
Phase choices change what you see. A full moon gives an iconic, very bright disk. A gibbous phase casts side light that boosts crater and mountain detail. A slim crescent favors mood, shadow, and negative space.
Phase impact on surface detail
Direct illumination at full often flattens texture and hides relief.
Gibbous phases create shadows that reveal relief and fine detail, making focus and exposure less punishing.
Rise, set, and twilight timing
Moonrise and moonset near the horizon often look strongest. The so-called “moon illusion” makes the disk appear larger. That perceived scale helps with foreground composition.
Twilight—blue hour or dawn—reduces contrast between sky, foreground, and the disk. This makes exposure balance easier and yields more natural scenes.
“Decide whether your priority is lunar detail or a scenic moon over landscape before packing gear.”
- Full moon: iconic shape and brightness; treat peak night as a window spanning days before and after.
- Gibbous: best for texture and forgiving exposure.
- Crescent: dramatic silhouettes and mood.
| Goal | Best Phase | Best Time | Why |
|---|---|---|---|
| Study surface detail | Gibbous | Night, away from horizon | Side light emphasizes relief and craters |
| Iconic bright disk | Full moon | Any night near peak | Strong, even illumination; high brightness |
| Scenic compositions | Days near full or crescent | Moonrise or moonset, twilight | Balanced sky and foreground; perceived size |
| Mood and negativespace | Crescent | Twilight or dark night | Deep shadows and dramatic silhouettes |
Choose the Right Location and Composition for Stronger Photos
Pick a location that gives a clear horizon and a strong foreground; this choice determines how dramatic your final frame will feel. Low horizons such as water, open fields, and ridgelines make moonrise easier to spot and capture.
Finding low horizons and clean sightlines
Scout an unobstructed horizon in the direction of rise or set. Arrive early and mark sightlines so you catch the first, most cinematic moments.
Framing with landmarks and landscape elements
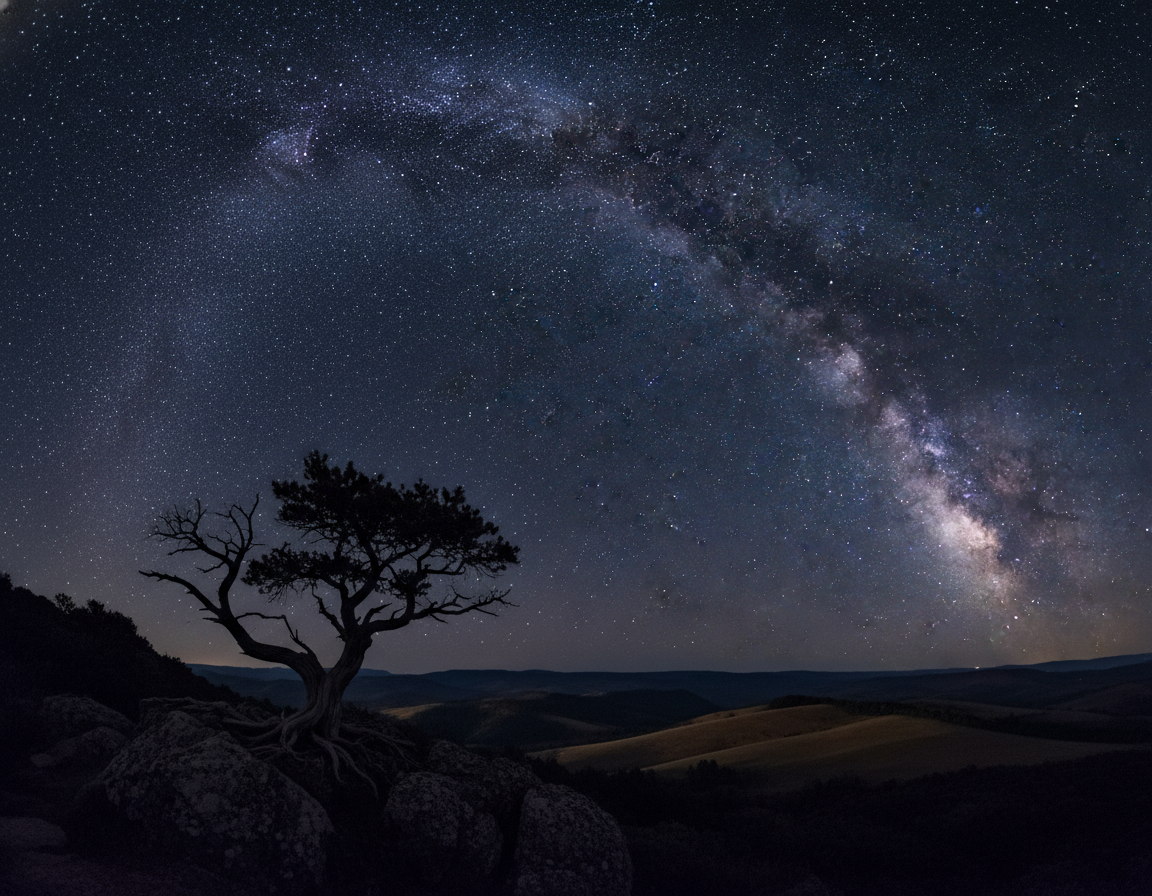
Include trees, lighthouses, skylines, or mountain ridges to add context. A single landmark gives scale and a narrative that a lone disk cannot.
Distance, focal length, and perspective
Back away from a foreground subject and use a longer lens. Increasing distance plus focal length compresses space and makes the moon appear larger relative to the subject.
Planning precise alignments with PhotoPills or TPE
Set the date, drop a pin, read moonrise time and azimuth, then move the pin until the path crosses your landmark. Small shifts in standing position will break an alignment, so set up early and be ready to adjust.
“Strong moon photos are usually made by planning—not found by accident.”
Gear Checklist for DSLR and Mirrorless Moon Photography
Good results begin with a stable rig and a camera that lets you control every setting.
Core checklist: a camera body with full manual control and RAW capture, a telephoto lens, a sturdy tripod, and a hands-free trigger method. These four items form the minimum kit for repeatable shots and clean images.
Crop sensor vs. full-frame
Crop bodies give extra reach for the same lens, which helps framing without buying longer glass. Full-frame bodies often deliver cleaner high-ISO files and more lens choices for fine detail.
Tripod essentials
Choose rigidity, a stable head, and adequate load capacity so a long lens does not droop after you lock it down. A lightweight tripod that flexes will ruin sharpness at long focal lengths.
Trigger options and repeatability
Use a remote or cable release for best sharpness. When traveling light, the camera self-timer is a reliable fallback.
| Item | Why it matters | Quick tip |
|---|---|---|
| Camera body | Manual control and RAW preserve detail | Test exposure bracketing at home |
| Telephoto lens | Shows surface texture and fills frame | Stabilize with lens collar when available |
| Tripod | Prevents vibration and keeps framing repeatable | Match tripod capacity to lens weight |
| Remote release | Prevents shake from pressing shutter | Use interval mode for many shots |
“Test the full setup at home: mount gear, lock head, and trigger without touching the rig.”
Pick the Best Lens and Focal Length for the Look You Want
Picking a lens and focal length defines whether the lunar disk feels like a distant accent or the star of a scene.
Shorter reach works well when you want a natural landscape with a visible orb.
When 200–400mm is often enough
At 200mm–400mm the subject remains modest in the frame. This is ideal for a balanced landscape where foreground context matters.
Use this range for scenic compositions and wider images that tell a location story.
Why 300mm+ adds visible texture and 800mm can fill the frame
Around 300mm is a practical starting point for real surface detail. If you need tight portraits of craters, push past 300mm.
Super-telephoto reach near 800mm will fill the frame, but demands rock-solid support and excellent focus technique.
Tradeoffs and a simple decision rule
Big focal lengths amplify haze, shimmer, and vibration, especially near the horizon. A huge disk can look dramatic yet unnatural in some scenes.
- Rule: choose focal length by story — documentary detail or environmental moonrise.
- Try multiple lenses during one outing to learn what looks believable for your style.
“Match reach with stability and intent for repeatable results.”
Dial In Camera Settings: Manual Mode, RAW, and Smart Defaults
Get camera control before you worry about composition. Manual mode gives photographers a predictable exposure baseline and prevents the body from changing settings as the scene shifts. This lets you lock exposure, focus, and framing for repeatable results.
Why RAW matters for detail and editing latitude
Shooting RAW preserves the most image data. That extra latitude helps recover highlights and shadows, lets you adjust white balance without quality loss, and improves sharpening results in post. For lunar work, RAW files make it easier to rescue subtle surface detail that an in-camera JPEG would compress away.
Recommended starting point: low ISO and controlled aperture
Start with a low ISO—typically 100–200—because the subject is sunlit and bright. Choose an aperture around f/8–f/11 for a balance between lens sharpness and diffraction control. Then dial shutter speed so the disk stays tack sharp.
Why your meter can be fooled by a bright disk in a dark sky
Evaluative metering averages a mostly dark frame and often brightens exposure, which clips highlights. Manual exposure avoids that trap. Use the histogram and highlight warnings rather than the LCD preview to check clipping.
| Setting | Suggested Start | Why it matters |
|---|---|---|
| Mode | Manual | Full control of shutter, aperture, ISO; prevents exposure shifts |
| RAW | Enabled | Maximizes recovery and editing flexibility |
| ISO | 100–200 | Keeps noise low while preserving detail |
| Aperture | f/8–f/11 | Sharpness sweet spot for many lenses |
| Exposure check | Histogram & highlight blinkies | Trust data over the LCD brightness in the dark |
“Protect highlights first, then build the rest of the image around that.”
For a practical baseline and added tips, consult this concise guide on reliable camera setup: camera setup for lunar shots.
How to Photograph the Moon Without Blowing Out the Highlights
Protecting bright highlights is the single biggest lever for consistent lunar detail. Start with a baseline exposure, check data, then tweak one variable at a time.
Looney 11 baseline
Set aperture to f/11 and match shutter speed to ISO. For example, ISO 200 → 1/200s. Use this as a field-ready starting point and adjust from there.
Spot metering in semi-auto modes
If you prefer Aperture Priority or Shutter Priority, switch to spot metering and meter directly off the bright disk. That prevents the camera from averaging the dark sky and overexposing surface detail.
Watch histogram and highlight warnings
Use the histogram and blinkies to confirm no clipping on the brightest tones. Crater detail lives in those highlights; once clipped, it cannot be recovered convincingly.
Bracket for insurance
Bracket by ±1–2 stops when brightness can shift—twilight, haze, or thin clouds. Bracketing gives multiple files for later review on a calibrated monitor and improves final results.
- Start with Looney 11, then change one setting at a time.
- Protect highlights first; adjust shutter speed, aperture, or ISO afterward.
- Use bracketed sets when in doubt—it saves detail and choice.
Shutter Speed and Sharpness: Freeze Motion and Prevent Blur
A deliberate shutter speed keeps motion blur and tiny vibrations from ruining fine surface texture.
Two blur sources matter: apparent motion of the disk across the sensor and micro-vibrations in your rig that long focal lengths amplify.
Aim for a practical floor near 1/125s or faster for tack-sharp results. Adjust upward when you use longer focal length or when atmospheric shimmer is strong.
Practical floor and why
Ultra-slow exposures can soften the disk even with perfect focus and a rigid tripod. Motion across the frame is enough to lose crater detail.
Balancing shutter, ISO, and aperture
Keep ISO low when possible, but accept modest increases to preserve needed shutter speed. Stop down a bit—around f/8–f/11—for lens sharpness, but avoid very small apertures that introduce diffraction.
- Test several shutter speeds across a narrow range of settings and review sharpened crops.
- Bracket brief sets at slightly faster and slower speeds to find the sweet spot.
“Sharpness is the foundation—editing can enhance detail, but it cannot fully rescue motion blur.”
Focus Techniques That Actually Lock on Lunar Detail
Nailing sharp focus is the single biggest difference between a good lunar frame and a great one. Small focus errors blur crater texture even when exposure is correct.
Live View magnification method
Use Live View and zoom in on the disk. Magnify the view, then turn the manual ring slowly until crater edges snap into clarity. Work at a modest aperture like f/8 for a stable depth of field.
Autofocus then switch to manual
Let AF get you close, then flip the lens into manual mode. This prevents the camera from hunting or drifting when you recompose or press the shutter.
- Focus on high-contrast edges (terminator if visible) for a clear snap.
- Re-check focus after major temperature shifts or tripod moves; long lenses can shift.
- Take short bursts once nailed—steady moments in the atmosphere yield the sharpest frames.
| Technique | Why it works | Quick tip |
|---|---|---|
| Live View magnify | Shows fine detail for precise lens adjustments | Use maximum magnification and slow turns |
| AF → MF | Speeds setup and prevents refocus hunting | Confirm final position in Live View |
| Burst after lock | Captures moments of steadier air | Use 3–5 frame bursts |
“Precise focus reduces the need for heavy sharpening, which protects image quality.”
Stability and Vibration Control for Crisp Moon Images
Preventing movement at the moment of release is the most repeatable path to sharp results. At long focal lengths, vibration control matters as much as exposure because the disk occupies only a small portion of the frame.
Internal movement and Live View
For DSLR users, mirror lock-up or shooting in Live View reduces internal vibration. Mirror slap can soften an image at the instant the shutter fires. Engage lock-up, then wait a beat before the exposure.
Turn off stabilization on a tripod
Disable both optical and in-body stabilization when the camera is mounted. Stabilization systems can “search” and introduce blur when a rig is already steady.
Filters and glass in front of the lens
Remove UV and other protective filters. Extra glass lowers contrast and fine sharpness. ND filters also force slower shutter speeds, which works against crisp results for a bright disk.
“Lock the rig, disable IS, then let vibrations settle before each shutter press.”
- Use a rigid tripod and firm head.
- Enable mirror lock-up or Live View on the camera.
- Remove filters and turn off stabilization.
- Use a remote or self-timer and wait 1–2 seconds before the shot.
These simple techniques let you choose an optimal shutter speed and lens setting with confidence, producing sharper images and more repeatable results.
Creative Moon Photos: Foregrounds, Color, and Realistic Composites
Combining a sharp disk with a meaningful landscape creates a clear narrative in night frames. Off-center placement and a strong foreground (trees, lighthouses, ridgelines) add scale and drama.
Off-center framing and storytelling
Place the subject away from center and use a landmark to tell a story. A single silhouette gives viewers a scale cue and context for the image.
Handling a dark foreground when exposing for detail
If you expose for lunar detail, the foreground often falls near-black. Shoot during twilight for reduced contrast, or accept shadow recovery in RAW editors when needed.
Composite basics for believable blends
Lock the tripod, capture the moon exposure first, then shoot a separate landscape frame at the same WB and lens position. In editing software, blend layers with a simple mask and keep edges natural.
White balance and consistent color
Avoid AWB shifts. Use daylight as a neutral baseline, try cloudy for warmth or tungsten for cool tones, and keep settings consistent across frames.
“Sharp lunar detail and protected highlights make composites convincing.”
Photographing a Lunar Eclipse With a DSLR or Mirrorless Camera
A total lunar eclipse forces a photographer to treat exposure as a live event, not a fixed recipe. Brightness can drop by orders of magnitude compared with a full moon, so settings must change as the event unfolds.

Why eclipse exposures differ dramatically
During an eclipse the disk dims continuously. Metering that worked for a full moon will underexpose frames once the umbra covers the face.
Adjusting ISO and shutter speed during totality
Progressively raise ISO and lengthen shutter speed as light fades. Watch noise and blur: longer exposures increase motion across the sensor and risk soft detail.
“Plan settings as a sequence: partial phases, deepening shadow, then totality.”
- Plan time windows so you can change camera settings quickly.
- Capture brackets at each stage; color and brightness vary with atmosphere.
- Shoot RAW for maximum recovery of dim color and texture.
- Prioritize stability—use remote triggers and limit shutter time where possible.
| Phase | Typical ISO | Typical shutter speed | Notes |
|---|---|---|---|
| Partial (bright) | 100–400 | 1/125–1/500s | Start with full-moon baseline, protect highlights |
| Deep partial | 400–1600 | 1/30–1/125s | Increase exposure; watch histogram |
| Totality | 800–6400+ | 0.5–8s | Balance ISO and blur; bracket and use RAW |
Post-Processing for Better Lunar Detail and Cleaner Results
Treat editing as the final stage of capture: your goal is clear surface texture, restrained contrast, and natural tones.
Start with a base adjustment in Lightroom or Adobe Camera Raw. Set exposure, pull highlights down if needed, and tame whites so crater detail stays visible. Apply modest clarity and texture to reveal relief without creating halos.
Sharpening and noise control
Sharpen with masking so edges stay crisp and flat areas remain clean. For high ISO frames, use luminance noise reduction sparingly; too much smoothing kills fine detail.
Shadow recovery and local fixes
Lift foreground shadows with local brushes while leaving the disk exposure intact. Use layer masks or radial filters for selective contrast that keeps the image believable.
Cropping and final selection
Crop for impact but respect usable resolution; extreme crops limit print size. Compare multiple frames and pick the sharpest lucky shot before heavy edits, since sharpening cannot fix blur.
“Consistent white balance and conservative contrast across a set yield the best results for series or timelapse presentations.”
Conclusion
Reliable results arrive when planning, stable support, and consistent settings meet patience.
Field checklist: plan timing and location, bring a sturdy tripod and an appropriate lens, set camera defaults, and arrive early to lock framing.
Technical priorities matter: use manual exposure, protect highlights with a Looney 11 baseline, choose a fast-enough shutter speed, and confirm precise focus in Live View.
Take many frames and bracket exposures. Atmosphere and tiny vibrations change each shot, and lucky imaging raises your odds of a keeper.
For creative work, blend sharp detail with foreground storytelling or use careful composites when dynamic range exceeds one frame.
Next step: pick a clear night, commit to a simple plan, and practice until the process becomes fast and repeatable.