Quick guide: This shoot-ready list helps visitors and locals find the best photo spots in las vegas after dusk. It splits the famous Strip glow from nearby dark-sky escapes so you can choose a mood and a plan.
Expect intense ambient light on the strip and true darkness a short drive away. The city’s neon and fountains create dramatic frames, but stargazers will want the valley’s edges for long exposures.
Who this is for: smartphone users, DSLR and mirrorless shooters, and anyone collecting reliable spots with clear access notes and realistic results. You’ll get iconic compositions, quieter parks, and desert horizons.
Fast tip: Decide if your aim is neon storytelling in the city or Milky Way work outside the valley, then pick spots and times to match safety and crowds.
How to Get Great Night Shots in Las Vegas
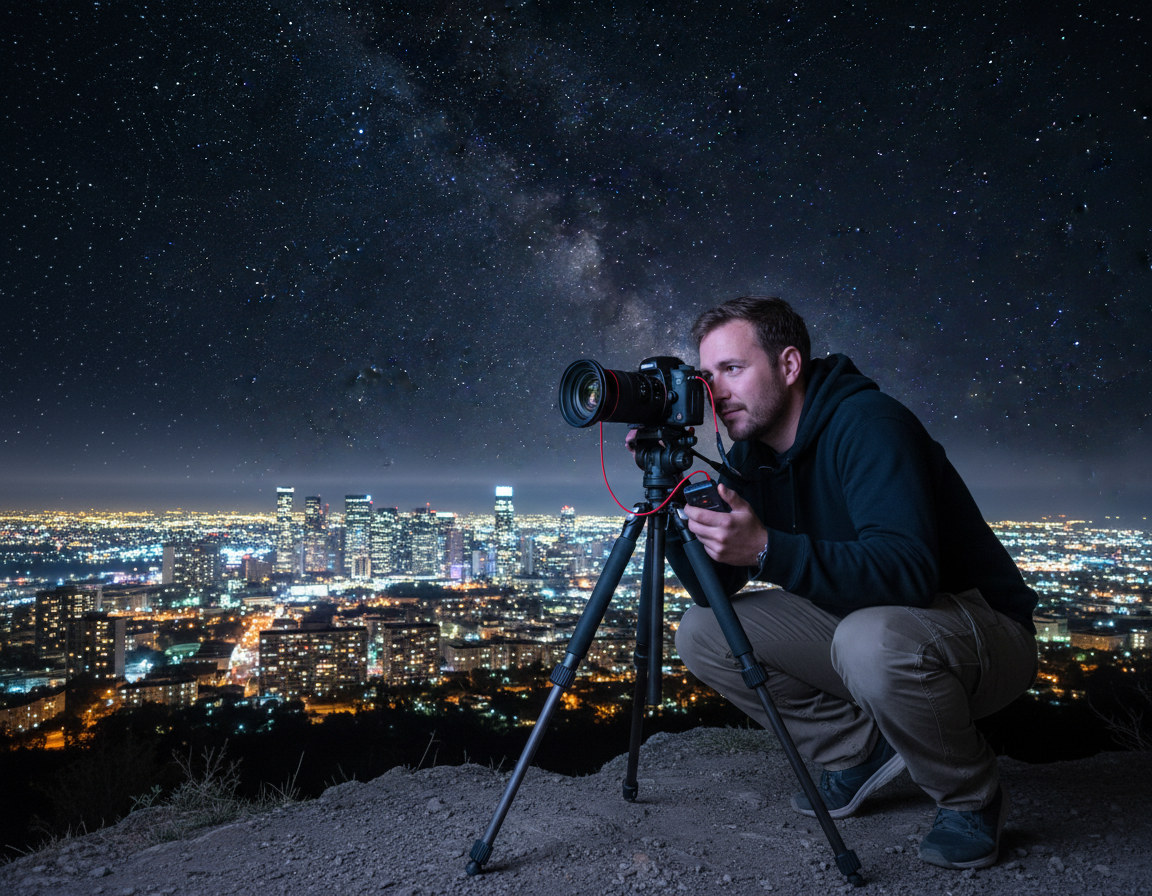
Timing, settings, and safety are the three pillars for stronger images in las vegas. Start planning before dusk so you know which angles and paths you will use when light changes.
Time it right for darker skies and better light
Shoot during blue hour for balanced neon and sky color, then stay into full darkness for deeper contrast and reflections. For star work, aim for the new moon and drive away from Strip lights; allow about 30 minutes for your eyes to adapt and use a red light to preserve night vision.
Dial in settings for neon, people, and long exposures
Begin with a stable baseline: lower ISO than you think, slower shutter on a tripod, and protect highlights so signs don’t blow out. Check the histogram and adjust to avoid clipping.
For neon scenes, protect bright signs, consider limited bracketing or HDR, and watch mixed color temperatures that can skew skin tones. For people, use faster shutters for candids or intentional blur for energy.
Plan for access rules, tripods, and safety in busy areas
Some viewpoints, like certain observation decks, restrict tripods (past policies at the Stratosphere required storing even small supports). If tripods are banned, use a monopod, handheld stabilization, or ground-level compositions.
Keep gear close, don’t block walkways, and scout spots in daylight so you return with a tighter plan at night. For quick silhouettes at fountain shows, expose for the highlights and fire the shutter immediately to render people as dark shapes against the bright spray.
For more on practical Vegas techniques and rules, see Las Vegas night photography secrets for a deeper set of tips.
Night photography locations on the Las Vegas Strip and Downtown
These spots deliver the most instantly recognizable Las Vegas scenes for travelers who want high-impact frames. Below are compact notes to help you work fast and get classic results.
Fremont Street Experience
Why go: The 1,500-foot LED canopy acts like a giant softbox. Use the canopy as diffuse overhead light and compose with rows of vintage neon for strong leading lines.
How to shoot: Stand near the middle for converging lines, lower your angle to emphasize the corridor, and include some downtown las signage for context.
Bellagio Fountains
Freeze arcs with a faster shutter or use a longer exposure for silky water. Expose for the bright fountain areas to keep people as crisp silhouettes.
Tip: Hunt reflections on wet pavement or polished railings to add depth to your photo.
Paris Las Vegas Eiffel Tower view
Elevated positions simplify the Strip and reduce clutter. Layer the Bellagio fountains below and frame skyline lights beyond for balanced geometry.
The Mirage Volcano and Stratosphere
The Mirage offers dramatic fire vs. neon contrast; be ready for bursts and crowds. For the Stratosphere, expect big panoramic views but note tripod restrictions—plan handheld or use a permitted support.
Wynn and Encore
Choose these spots for clean lines, symmetry, and polished lighting that is easier to expose than busy neon. They work well when you want a modern, upscale aesthetic.
| Spot | Best use | Quick tip |
|---|---|---|
| Fremont Street | LED canopy & classic neon | Use canopy as soft light; low angle for leading lines |
| Bellagio Fountains | Silhouettes & reflections | Expose for fountains; check pavement for reflections |
| Paris Eiffel View | Elevated Strip compositions | Layer fountains with skyline; simplify clutter |
| Stratosphere | Wide skyline view | Tripod rules apply—plan alternatives |
Manage people: Include crowds for scale and energy or wait for gaps for cleaner architecture. Verify access and showtimes the same day you shoot—Strip spots can change fast.
Desert-and-sky backdrops close to the city (easy night escapes)
If you want darker skies and natural backdrops, easy desert escapes are a short drive from Las Vegas.
Lake Mead National Recreation Area
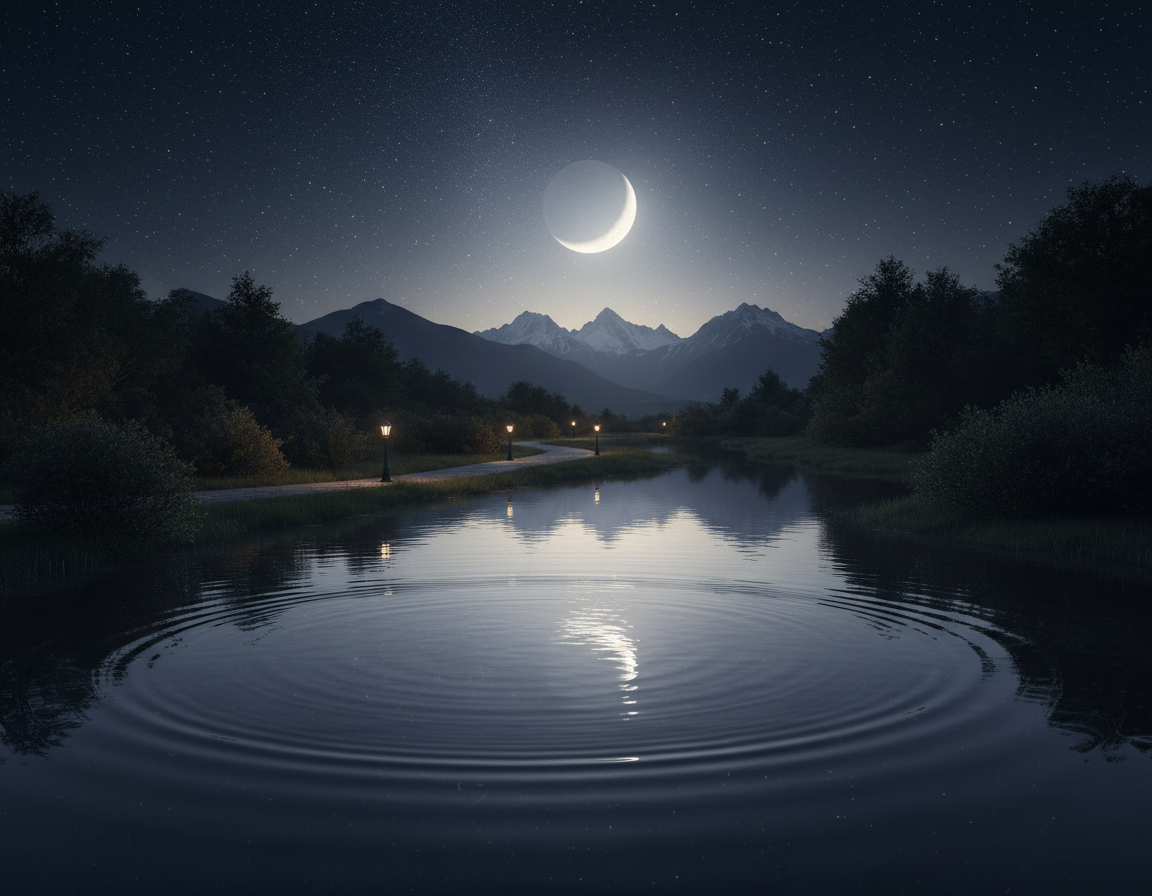
About: Roughly 30 minutes east of downtown, Lake Mead offers wide horizons and calm shorelines for mirrored star fields.
Tip: Shoot from Boulder Beach or Northshore Road; aim your lens across the water to capture reflections and distant glow. Allow about 30 minutes for eyes to adjust.
Valley of Fire State Park
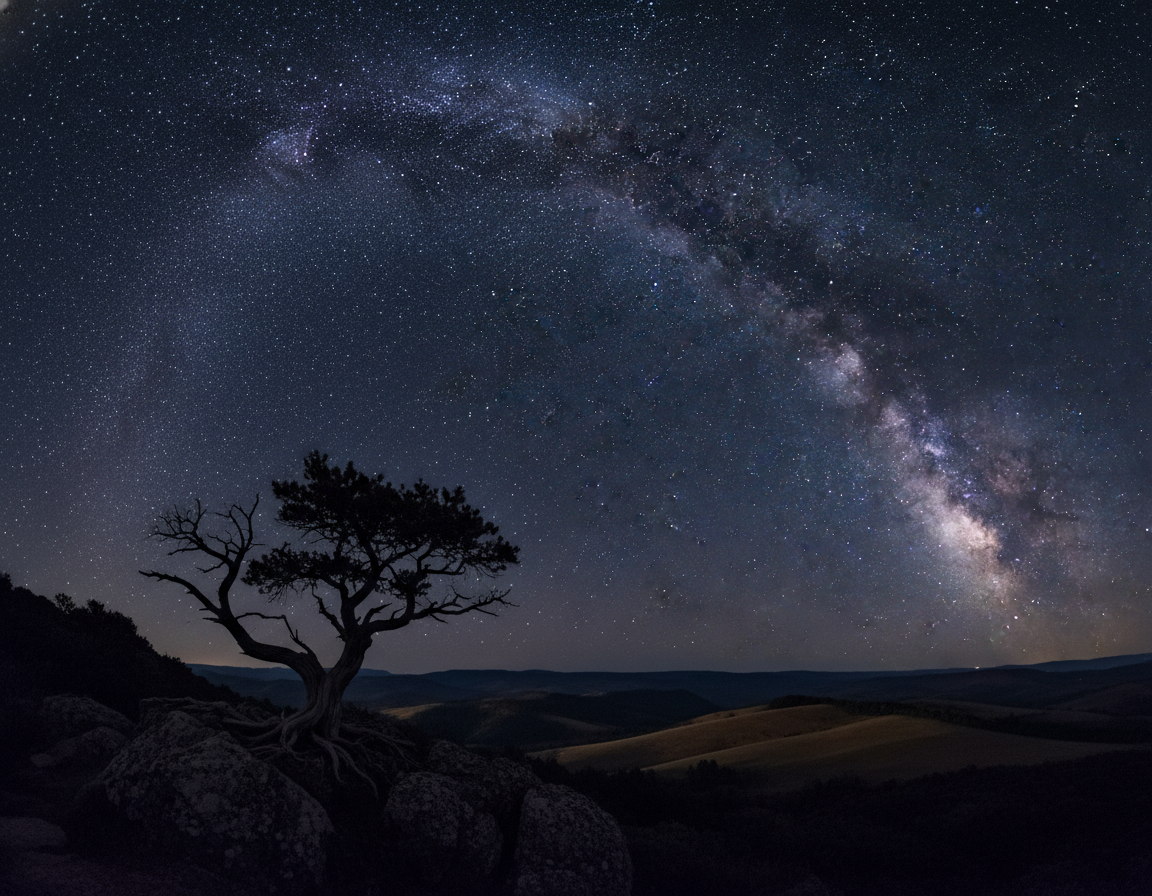
About: One hour north on U.S. 93, the red rock formations provide dramatic foreground anchors for Milky Way frames.
Tip: Respect after-dark access rules—camp only at Arch Rock or Atlatl Rock—and use a wide, fast lens for clean star points against sculpted rock.
Mount Charleston, Lee Canyon & Lovell Canyon
About: At 45–60 minutes away, Mount Charleston and Lee Canyon give higher elevation and clearer views. Lee Canyon runs public star events like “Stars on the Summit.”
Lovell Canyon: About an hour via SR-160, it offers dispersed camping with no amenities—pack water, shelter, and leave-no-trace gear.
Avi Kwa Ame National Monument
About: About 1.5 hours south on I-15, this protected desert holds cultural significance and very dark skies.
“The night sky here is a place of deep connection,” said tribal elder Paul Jackson Jr.
Tip: Shoot respectfully: use low-impact light, keep noise down, and choose wide lenses to keep compositions simple in open terrain.
Park and wetland options for quieter night photos with nature vibes
Parks and wetlands around Las Vegas are a smart option when you want calmer photos. You get fewer blinding signs, more controllable backgrounds, and room to work away from heavy crowds.
Clark County Wetlands Park
The wetlands have extensive trails and calm water that make strong trail-based compositions. Use pond edges for crisp reflections and low horizons that anchor the sky.
Watch for wildlife: keep a respectful distance from birds and marsh life. Occasional stargazing events at the Nature Preserve are helpful for beginners and offer a safer, shared schedule for viewing.
Henderson park areas
Henderson parks such as Horizon Ridge Park are a great choice for family-friendly evening portraits. Mountain silhouettes provide clean backdrops and work better than the busy Strip for couples or group shots.
- Scout in daytime to mark safe paths, tripod spots, and water edges.
- For people, use soft continuous light sparingly and match color temperature for natural skin tones.
- Things to bring: a small flashlight on low, spare batteries, and warm layers for temperature drops.
Dark-sky road trips worth the drive for astrophotography
If you crave pristine star fields, a short drive from las vegas opens up truly dark skies. These trips trade city glow for clean horizons and richer long-exposure results.
Death Valley National Park
Why go: Highest-tier dark sky and it never closes, so you can shoot all night.
Shot plan: Use Mesquite Flat dunes, Badwater salt flats, or Ubehebe Crater as textured foregrounds. Arrive before sunset to pick compositions.
Great Basin National Park
Why go: Some of the darkest skies in the Lower 48 and park lighting is red-shifted to protect views.
Best easy sites: Astronomy Amphitheater, Mather Overlook, Baker Archaeological Site. Plan to arrive by day to confirm parking.
Clair Blackburn Memorial Stargazing Park (Tonopah)
Accessible and purpose-built for stargazers. Follow directions near Tonopah High School and expect simple framing for first-time astrophotographers.
Basin and Range National Monument
Ultra-remote, wide-open desert with minimal traffic. Bring gas, water, and offline maps. Arrive before dusk and set a conservative return plan.
Boundary Peak Wilderness
High-elevation darkness without a summit hike. No permit needed for surrounding camping; practice safe camp methods and check weather.
| Spot | Drive from Las Vegas | Best use | Day planning reminder |
|---|---|---|---|
| Death Valley | ~2 hours | Dunes, salt flats, craters under stars | Arrive before sunset; scout composition |
| Great Basin | ~4 hours | Amphitheater & overlooks for wide views | Confirm parking; expect minimal services |
| Clair Blackburn Park | ~3 hours | Purpose-built stargazing frames | Follow local turnoffs; pick safe parking |
| Basin & Range | ~2 hours | Ultra-remote star fields | Fuel, water, offline maps required |
| Boundary Peak | ~3 hours | High-elevation dark skies | Check weather; safe camping practices |
- Checklist mindset: stable tripod, warm layers, extra power, backup plan for clouds.
- Day reminder: arrive before sunset to choose the best foreground and confirm parking or camping.
When to go and how to plan your night photography session
Plan each outing around what you want to capture: glowing city scenes or clear star fields. That choice drives the best evening, gear list, and safety steps you follow in and around Las Vegas.

Timing basics and eye adjustment
For astro work pick a new moon and find a dark area away from the Strip. For neon and reflections, target blue hour plus the first hour after sunset. Decide your target, then set a schedule.
Allow about 30 minutes for your eyes to adapt before critical framing. During that window, do your first setup and avoid white beams so your vision (and your ability to compose) improves.
Red-light etiquette and shared spaces
Use a dim red light and point it at the ground. Keep it brief and low when others are nearby. This simple courtesy protects other shooters and stargazers and keeps community events, like Lee Canyon’s stargazing nights, pleasant for everyone.
Seasonal and logistics checklist
Summer demands lots of water and shorter visits; winter can be unexpectedly cold. Shoulder seasons are often most comfortable for longer setups in the desert.
- Drive time & fuel: confirm distance and top off gas (Basin and Range is remote).
- Essentials: water, layers, offline maps, permits or campground rules (Valley of Fire after-dark rules matter).
- Backup plan: pick a second place if your first spot is closed or crowded.
“Scout in daytime to mark safe routes and foregrounds — you’ll save time and avoid surprises.”
Leave-no-trace: pack out trash, stay on durable surfaces, and respect protected sites. Tell someone where you’ll be, check weather, and avoid risky terrain when visibility is low.
For a practical planning guide, see night photography planning before you head out.
Conclusion
Conclusion
Pick one high-energy Strip spot, then add a quieter park or desert backdrop to broaden your work. Las Vegas offers unmatched neon on the Strip and lively Downtown frames, while nearby deserts deliver wider skies for long exposures and stars.
Use iconic city photo spots for energy and reflections, choose a wetlands or park option for calmer photos, and plan a road trip for true dark-sky results. Match gear and timing to each spot and keep your intent clear.
Quick action plan: choose your top spot, confirm showtimes or park rules, pack essentials, arrive before dusk, and stay long enough to refine composition the next day.