This introduction explains a practical approach to shooting after-dark scenes with intent. Start by thinking of shutter time as a storytelling tool: it records motion differently than your eyes do, so moving lights and water become expressive elements while fixed subjects stay sharp.
You will learn a repeatable workflow that covers gear setup, core camera settings, focusing and metering in low light, and a field checklist for wind or bright lights. The guide works for digital and film shooters and notes Bulb mode discipline and film reciprocity effects when exposures extend.
Expect clear tips to capture sharp cityscapes, smooth water, and clean light trails without guesswork. The goal is a controlled result, not just letting in more light.
Safety and planning matter: scout locations, mind traffic, and secure your tripod before the shutter opens. This section sets the stage for step-by-step settings and troubleshooting that follow.
What Long Exposure Photography Does to Night Scenes
Open the shutter and time becomes a brush that paints light across a frame.
A deliberate shutter duration records motion and light over seconds or minutes, so moving elements smear while static subjects stay sharp. This changes how a camera captures a scene: it accumulates photons and the path of moving sources instead of freezing a single instant.
How shutter speed “warps time” to reveal motion your eyes can’t see
A car can vanish as a distinct object while its headlights and taillights record continuous lines. Waves become silky bands. Clouds stretch into streaks. The shutter maps motion across time, creating drama from contrast between still and moving parts.
When to choose long exposures instead of freezing action
Pick this technique for atmosphere: traffic trails, glassy water, and star paths. Choose freezing when sharpness matters—portraits, handheld moments, or fast subjects.
“Long exposure reshapes light into patterns and mood, not just brightness.”
- City streets: traffic becomes light trails at 5–30 seconds.
- Waterfronts: waves smooth out at 1–10 seconds.
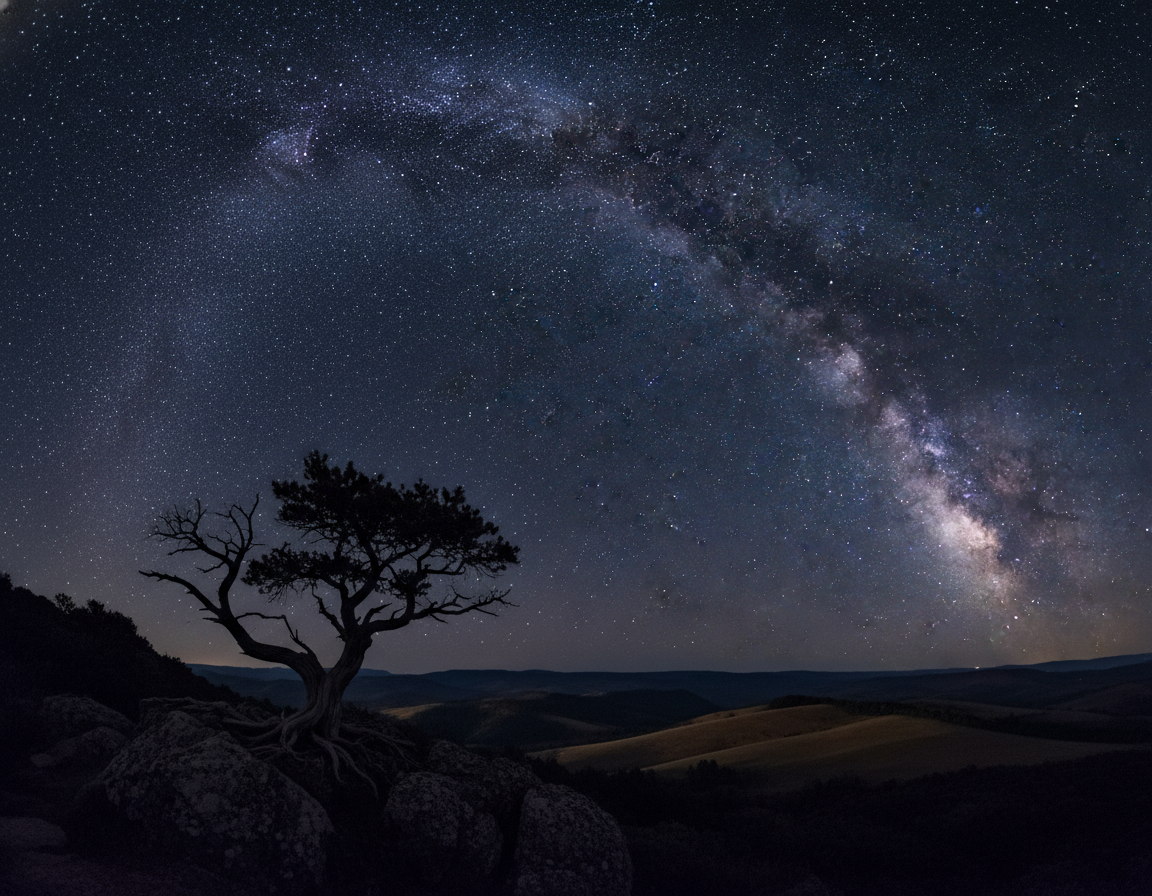
- Skies: star motion appears over minutes to hours.
| Subject | Typical Shutter | Visual Result |
|---|---|---|
| Traffic | 5–30 s | Continuous light trails, reduced vehicle detail |
| Waterfront | 1–10 s | Silky surface, softened reflections |
| Stars | Minutes–hours | Curved trails or circular arcs |
Decision framework: choose a subject with predictable motion, anchor composition with static structures, and plan shutter speed to tell the time-based story you want.
Gear You Need for Sharp Long Exposures After Dark
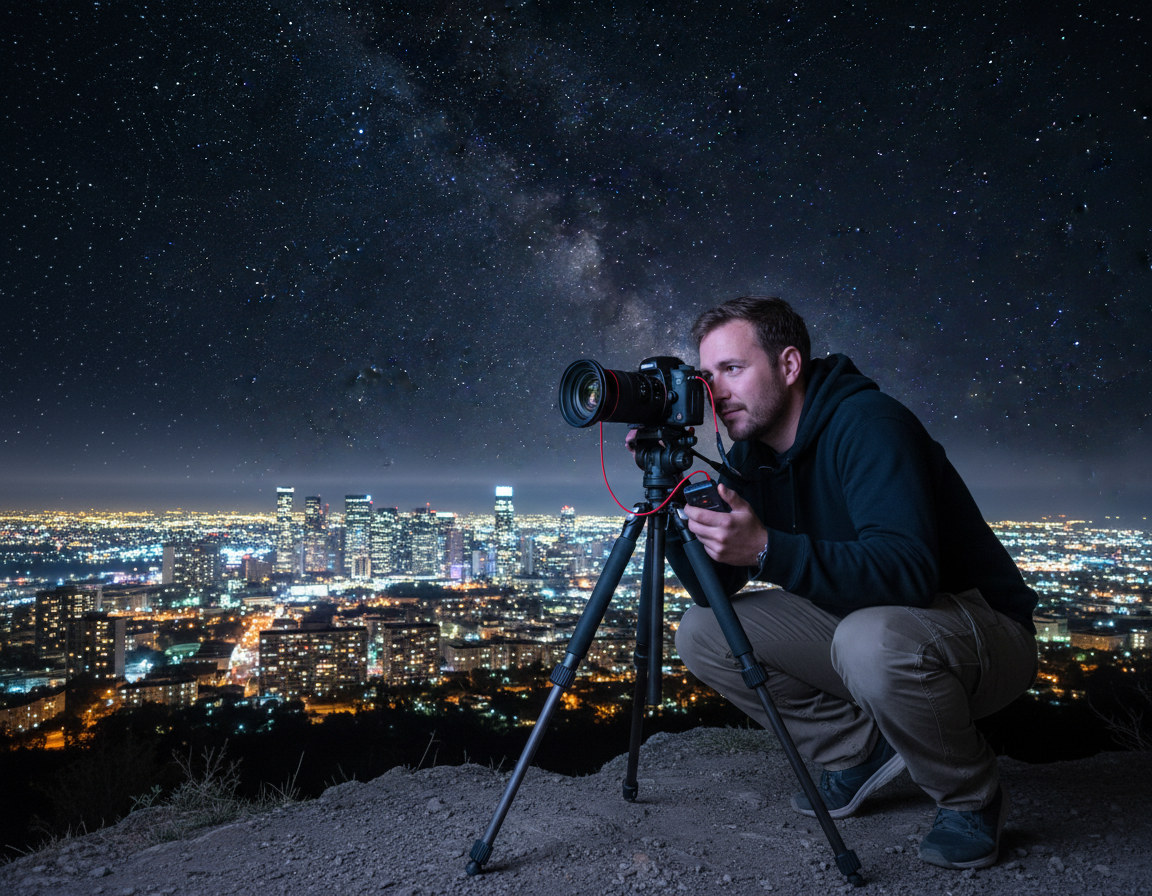
A rock-steady platform and reliable trigger are the foundation of crisp after-dark images.
Tripod fundamentals: choose a sturdy tripod with stable legs, a locked head, and a secure plate so your camera tripod won’t sag during multi-second exposure. Wind or uneven ground can amplify tiny vibrations, so weigh the legs or use a low center of gravity when possible.
Triggering without shake: use a cable release, wireless remote, or the 2-second timer built into your camera. Even small presses cause blur; a hands-off shutter release keeps static subjects sharp while moving elements render clean trails.
- Select Manual mode for full control; use Shutter Priority when you must hit one interval; switch to Bulb mode for very long exposures beyond the camera’s max.
- Pack warm layers, grippy shoes, and a small stool for long waits between frames.
- When framing light trails, pick sidewalks, bridges, or safe pull-offs—never stand in active lanes or on tracks.
| Item | Why it matters | Tip |
|---|---|---|
| Sturdy tripod | Keeps horizon and buildings sharp | Stable legs + locked head; weight hook if windy |
| Remote or timer | Prevents button-induced shake | 2s timer or cable/wireless release |
| Camera modes | Control over shutter and light | Manual for consistency; Bulb for long runs |
Goal: a stable platform and repeatable release so static elements stay crisp and motion reads as intent.
Camera Settings for Long Exposure Night Photography
Good results start with a simple rule: choose shutter speed, aperture, and ISO to match the motion you want to render.
Shutter ranges and what they make
Seconds matter: 1–5 seconds gives subtle blur for water or passing people.
10–15 seconds makes bold vehicle trails and smooth water surfaces.
Multi-minute runs capture slow cloud drift or star arcs when ambient light is very low.
Aperture choices
Stop down for crisp depth of field. f/8–f/16 works well for landscapes and cityscapes.
Use f/5–f/11 when trails need more brightness and the scene is darker.
ISO and file quality
Start at iso 100 for clean files and better headroom in the highlights.
Raise ISO only to shorten the shutter or to avoid blown highlights in tight windows.
Focusing and metering
Acquire focus on a bright edge, switch to manual, then lock the focus to avoid hunting.
Meters can lie in low light—take test frames and adjust exposures deliberately.
Controlling highlights
Bright headlights and signage clip fast. Stop down, shorten the shutter, time shots, or use a black card to block the lens mid-run.
Film note: reciprocity failure can demand extra time, and Bulb discipline prevents wasted frames.
How to Shoot Long Exposures at Night, Step by Step
Begin by scouting early; the right timing turns ordinary streets and shores into expressive frames. Arrive about an hour before sunset to find safe spots, test sightlines, and set your tripod while there’s still usable light.
Scout and compose before it gets fully dark
Pick a composition that pairs a still anchor—buildings, rocks, or a pier—with moving elements like cars, clouds, or water. This contrast makes the shot read clearly on camera.
Dial in exposure, test, then adjust
Set an initial baseline on your camera: low ISO, mid aperture, and a shutter time aimed at the motion you want. Take a test shot, check the histogram and highlights, then change shutter, aperture, or ISO with purpose.
Use twilight through early night to your advantage
Twilight holds foreground detail while giving color to the sky. About 15 minutes before sunset to an hour after is the most flexible window. For stronger light trails, try around 30 minutes after sunset.
Shoot variations and save RAW files
Shoot multiple shots with different shutter durations and framings. Compare blur, mood, and detail later in post. Capture RAW to protect highlight and shadow detail for effective editing.
Practical note: patience pays—timing traffic or waves often takes many attempts and repeat visits to a location.
- Arrive early, set the tripod, and refine composition while light remains.
- Start with a test frame, use the histogram, then adjust with intent.
- Shoot several variations and keep RAW files for flexible post work.
| Step | Why it matters | Quick action |
|---|---|---|
| Scout early | Find safe, strong composition and plan camera placement | Arrive ~60 min before sunset |
| Baseline test | Gives a reference for motion and highlight control | ISO 100, f/8, trial shutter; check histogram |
| Variations | Shows how different shutter times change mood | Shoot 3–5 shots with varied shutter durations |
| RAW capture | Preserves recoverable detail for post processing | Always record RAW + backup |

Creative Night Subjects and Techniques That Make Long Exposures Shine
Choose one moving element to emphasize and design each shot around that motion to keep your images intentional.
Light trails: predict vehicle direction, pick a safe sidewalk, bridge, or overlook, and frame so trails cross the frame instead of ending mid-image. For trains and aircraft, keep well clear of tracks and active zones. Time your shutter to avoid cutting trails short.
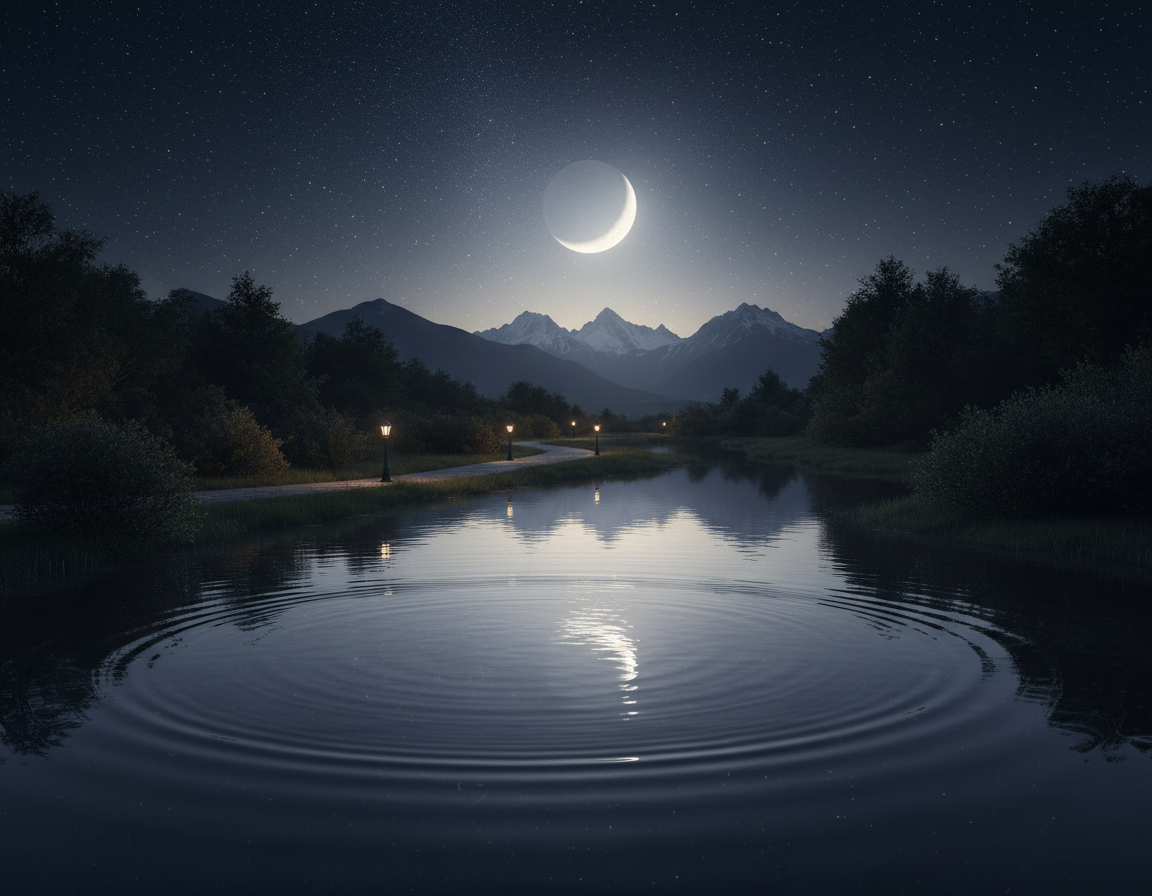
Water and clouds: use an anchored foreground—rocks or piers—so moving water becomes silky and clouds streak across the sky. Shorter shutter speeds keep texture; longer ones smooth surfaces into mood-driven landscape images.
Star trails: shoot one very long exposure for simplicity or stack many 30-second frames via an intervalometer to reduce noise and keep control in post.
Film and Bulb notes: reciprocity failure can add time beyond meter readings. Check Bulb mode and confirm each run to avoid wasted frames.
Troubleshooting: lower the tripod, shield it from gusts, and expect timing mistakes—bright headlights teach when to shorten the shutter, stop down, or wait. Link techniques and planning to further reading on the art of night photography.
Tip: emphasize one motion per image so the final result reads as intentional, not chaotic.
Conclusion
Conclusion
Treat each frame as a test: compose, set a conservative baseline, then refine by trial.
Stabilize the tripod and remote, pick a scene with motion plus a still anchor, and start with low ISO and a modest shutter. Adjust aperture and time to shape movement and protect highlights for a clean image.
Be patient. Small shifts in ambient light change results across minutes. Test frames, then lock settings that work for the scene.
Two immediate levers: eliminate vibration with a solid rig and remote, and manage bright lights so highlights don’t clip.
Next step: choose one subject—light trails, water, clouds, or stars—and shoot a short series of intentional variations to learn how time alters your photographs. Use these tips to develop a repeatable workflow and better exposure control in your photography.