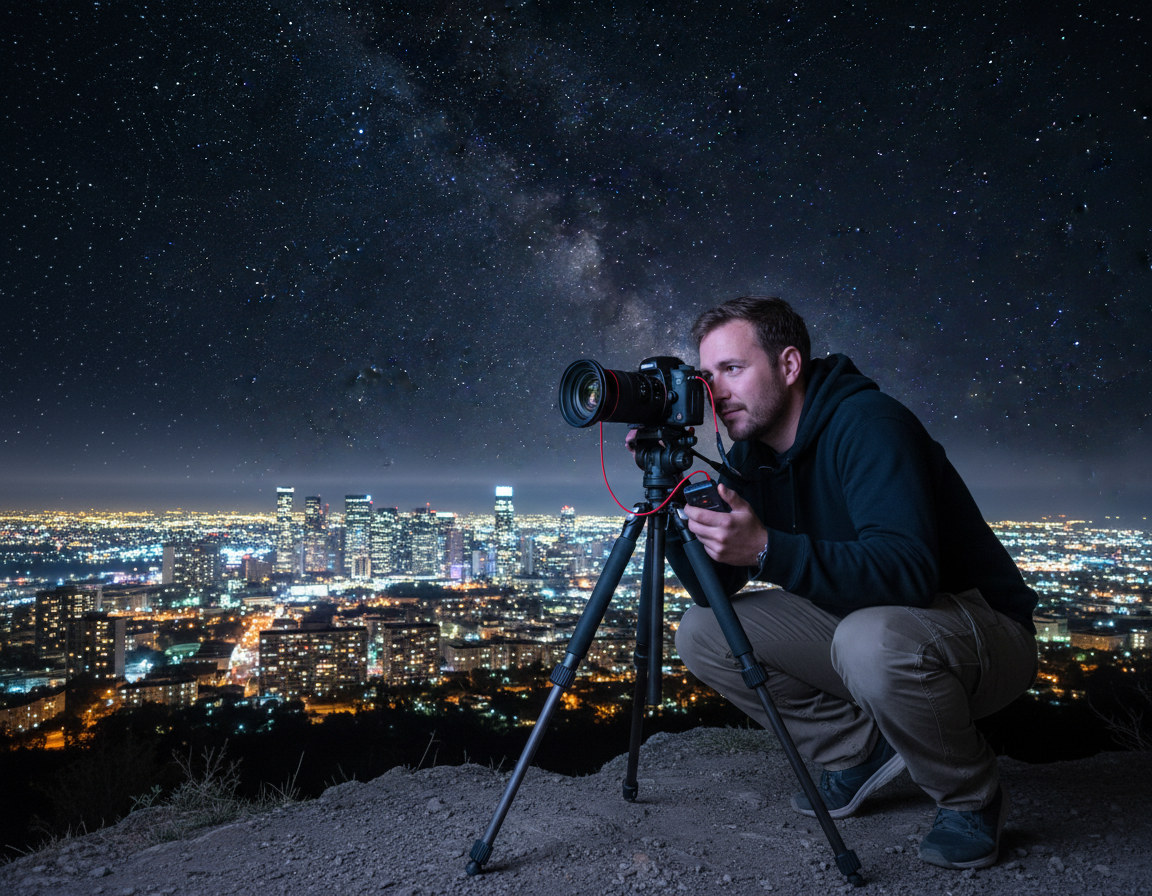
This concise guide will help you get started photographing the night sky with realistic steps and repeatable settings. It focuses on the most accessible entry point: a stationary tripod, a wide lens, and an entry-level DSLR or mirrorless camera.
What this guide covers: how to plan for dark skies in the United States, set up your gear, nail focus, and choose exposure for sharp stars or intentional star trails. You’ll learn simple processing that brings out the image without complex software.
Common questions are answered up front: what camera is good enough, whether you need costly gear, and why technique matters as much as hardware. The goal is clear results you can repeat on your next clear night.
Quick outcomes: pinpoint stars with shorter shutter times, or smooth star trails by accumulating longer time. Practical safety tips include scouting by day, securing the tripod against wind, and dressing for cold to keep your first photos sharp.
What You Can Realistically Capture on a Clear Night
A clear night offers two very different looks: tiny pinpricks of light or sweeping arcs that trace Earth’s rotation.
Pinpoint stars vs. star trails
Short exposures freeze stars as sharp points. Keep shutter times brief and you get crisp stars and constellations.
Long exposures record star trails. Leave the shutter open or stack many frames to show motion from Earth’s rotation.
Milky Way nightscape vs. deeper-space objects
A tripod-based nightscape combines land with the band of the milky way. It is the most dramatic, achievable target for most cameras and lenses.
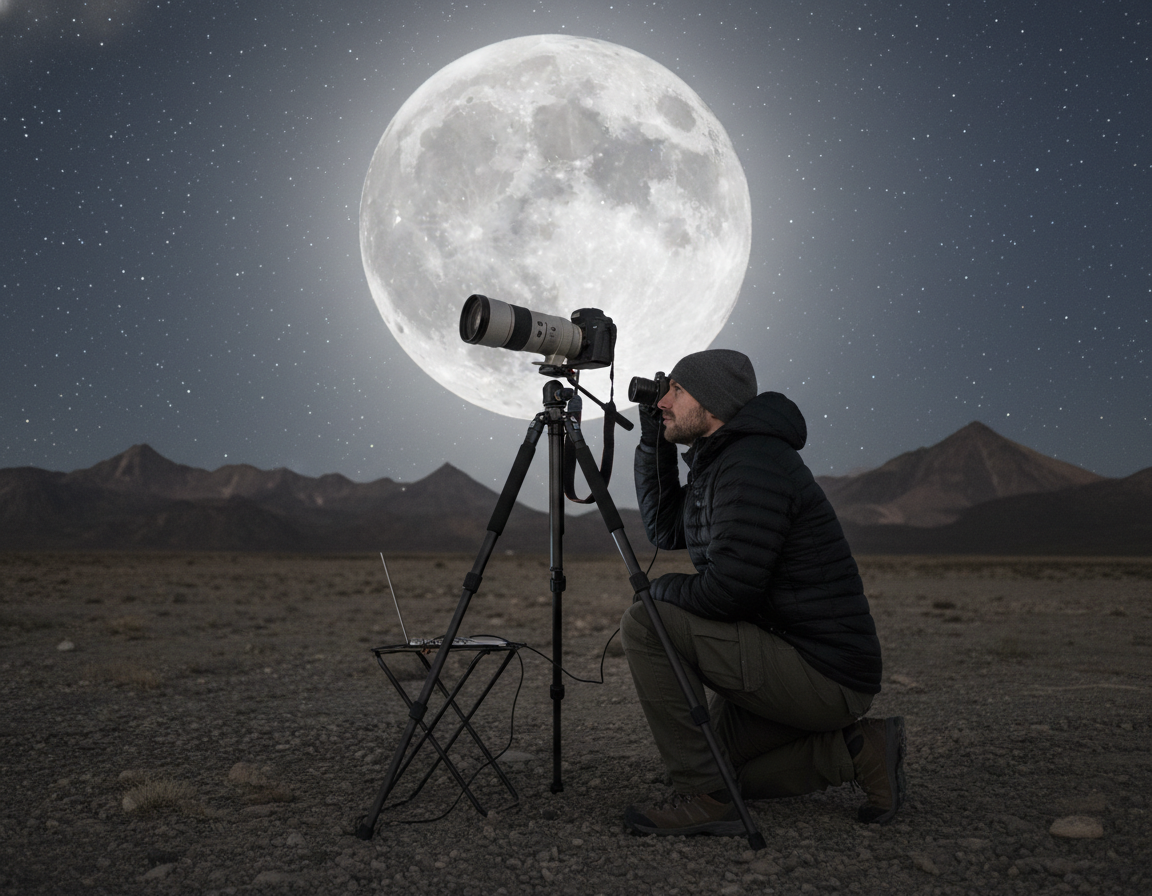
Deeper-space objects—galaxies, nebulae, clusters—look small in a single frame. They usually need tracking or a telescope to show detail.
How focal length changes your field of view
Ultra-wide lenses capture more sky and simplify composition. Longer lenses narrow the view and demand steadier mounts or tracking for clean images.
Quick decision framework: if your camera and lens range is wide-angle, aim for nightscapes and the Milky Way. If you have longer focal length and a tracker, target small deep-sky objects for better results.
| Lens Focal Range | Typical Result | Camera Needs |
|---|---|---|
| 10–24mm (ultra-wide) | Wide nightscape, Milky Way band, foreground | Tripod, fast lens (low f-number) |
| 35–85mm (short tele) | Tighter constellations, partial Milky Way | Stable tripod, careful framing |
| 100mm+ (long) | Close-up objects; galaxies/nebulae appear small | Tracking mount or very short exposures with stacking |
Plan Your Shoot for the Darkest Sky Possible
A careful plan wins more stars than the fanciest camera gear. Darkness and clarity govern how much detail your camera can record. Good planning improves your final images and reduces wasted time on site.
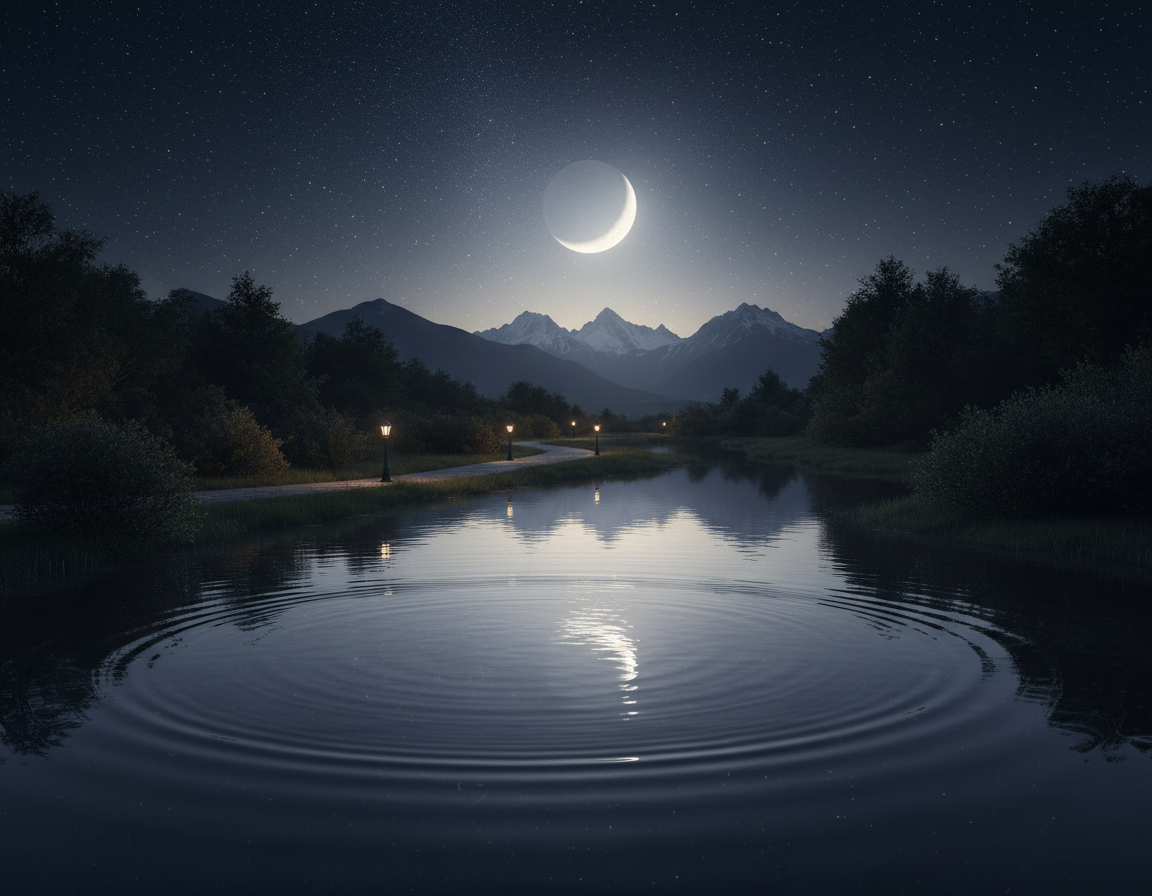
Pick nights near the new moon
Rule: schedule shoots around the new moon whenever you want faint stars or the Milky Way to show well.
A full moon acts like natural light pollution. It brightens the sky, lowers contrast, and washes out faint objects and background stars.
Check clouds and transparency
Look beyond simple cloud cover. Check transparency for haze, smoke, or humidity. The same location can be excellent one night and poor the next.
Scout and build a timeline
Visit the foreground by day to choose safe footing and stronger compositions. Plan arrival, setup, test exposures, and peak darkness.
- Arrival: set up before dark for quick framing.
- Test: make short test exposures to confirm focus and exposure.
- Peak: shoot when the sky is darkest for best results and lower ISO.
When skies are darker you can use lower ISO or shorter shutter time for cleaner pictures. That balance of time and exposure is one of the simplest tips in this guide to better night photos.
Choose a Location in the United States With Less Light Pollution
Picking a low-light location is the single easiest way to improve your night sky images. Light pollution lowers contrast and hides faint stars and the Milky Way texture. In darker places your camera records more stars and finer detail, and you get cleaner results with less ISO and shorter exposures.
Use lightpollutionmap.info to compare nearby areas
Open lightpollutionmap.info and zoom to your region. Compare colored bands to find darker corridors for weekend trips.
Pick routes that reduce drive time but improve sky quality. Mark several options to test on the same night.
Find dark-sky options with darksitefinder.com
Use darksitefinder.com to find recognized dark-sky spots. Then cross-check access, parking, and safety before you go.
When a little horizon glow can work creatively
A small glow on the horizon can add mood if it’s off to the side of your view. Avoid placing bright towns directly behind your main subject.
Example: Spruce Knob, West Virginia, is a commonly cited darker location in the eastern US and shows what a worthwhile drive can yield.
Essential Gear to Get Started Without Overspending
You can capture excellent star images with a small, focused kit and smart technique.
Minimum kit: a camera with manual controls, a wide lens that opens up, and a stable tripod will let you make useful night sky images.
Choose the right camera
Any modern camera that offers full manual mode and usable high ISO will work. Entry-level cameras can perform well if you use good technique and, later, stacking to reduce noise.
Pick a practical lens
A wide-angle, fast lens (f/2.8 or lower) makes the night sky brighter in each shot. Lower aperture numbers let in more light so you can use shorter shutter time and lower ISO for cleaner results.
Stability matters more than brand
A solid tripod with locked legs and stable footing beats an expensive name. Set it on firm ground and avoid extending the center column when possible.
Prevent shake
Use a shutter release or a 2-second timer so pressing the button doesn’t blur stars. Small steps like this improve sharpness and final results.
“You don’t need the priciest gear to get good night sky images—technique and stability matter most.”
- Minimum viable kit: camera (manual), wide fast lens, solid tripod
- Use low f-number rather than boosting ISO too high
- Use a remote or 2-second timer to avoid vibration
For a focused shopping list, see this essential gear guide that covers models and price ranges.
Optional Upgrades That Make Star Photos Easier
Small upgrades can speed your progress and expand what your camera can capture on a good night.
Star trackers let you push past short exposures by moving the camera to match the sky’s motion. That single idea explains how trackers work: they rotate the mount so stars stay pinpoint while you use longer exposure length.
Trackers and cleaner results
Using a tracker often means you can lower ISO and increase exposure time. That reduces visible noise and brings out faint Milky Way detail in your images.
Entry-level options like the iOptron SkyTracker Pro and Sky-Watcher Star Adventurer are common examples of tools hobbyists add once a tripod workflow is consistent. They are optional, not required to get started.
Planning and sky-ID apps
Apps cut wasted time in the field. Use Stellarium, PhotoPills, PlanIt Pro, or Night Sky to confirm Milky Way position, moon timing, and ideal composition direction.
“Good planning tools help you aim your lens and pick the best time and place to shoot.”
- Why add upgrades: better results without complex gear.
- What to expect: longer exposures with pinpoint stars and cleaner final images.
- Pro tip: try a tracker on clear nights after you’ve mastered tripod basics.
Camera Setup Basics Before You Take the First Photo
Before you press the shutter, set your camera so you can control every exposure and focus decision tonight. A short, consistent routine keeps your first images usable and reduces wasted time in the field.
Switch to Manual mode and manual focus
Set the camera to Manual mode so the meter doesn’t under- or overexpose the scene. Auto modes often misread dark skies and produce inconsistent results.
Switch autofocus off and use manual focus. Autofocus rarely locks on stars in low light, so manual focus gives repeatable sharpness.
Shoot RAW vs. JPEG for easier processing later
Shoot RAW to preserve more data. RAW files let you recover exposure, adjust white balance, and reduce noise in later processing.
JPEG saves space but limits how much you can fix in post. For your first nights, RAW is the safer way to get clean images.
Turn on live view and set up your screen brightness
Use live view to magnify a bright star or distant light for fine focus. If you can’t see stars, raise ISO temporarily just to confirm framing.
Keep the screen dim enough to protect night vision but bright enough to judge focus and exposure. Finally, run this quick checklist before shooting:
- Manual mode on
- Manual focus engaged
- RAW file format selected
- Timer or remote enabled
Core Star Photography Settings for an Astrophotography Beginner
Use simple, repeatable settings to learn how aperture, shutter time, and ISO interact under real skies.
Aperture: gather more light
Start wide open — use the lowest f-number your lens supports to let in the most light. Some lenses sharpen slightly if you stop down a bit; test f/2.8 vs f/4 to see if detail improves.
Shutter speed: limit trailing with the Rule of 500
Apply the Rule of 500: divide 500 by focal length (full-frame equivalent) to get max seconds before star trails appear. Example: 500 / 24 ≈ 20 seconds. Higher-resolution cameras may need shorter times.
ISO and noise: balance sensitivity with clean images
Start around ISO 1600–3200. In very dark skies you can use lower ISO; in brighter or faster-lens setups you may need ISO ~4000. Watch noise and reduce ISO if stars look grainy.
White balance and RAW flexibility
Set white balance near 4000K as a practical starting point. Shoot RAW so you can correct color and exposure later without loss.
| Scenario | Example Settings | Why it works |
|---|---|---|
| Wide nightscape (18mm) | f/4, 25 seconds, ISO 1600 | Good balance of foreground and sky with moderate noise |
| Fast lens, short time | 18mm, f/2.8, 10 seconds, ISO 4000 | Shorter exposure reduces trailing; higher ISO compensates |
| Tighter focal length (24mm) | f/2.8–4, ~20 seconds, ISO 1600–3200 | Rule of 500 keeps stars sharp; adjust ISO for sky brightness |
Test one setting at a time, review results, and lock in the combo that yields sharp stars with acceptable noise.
Focusing at Night Without Guesswork
Sharp stars start with deliberate focus, not guesswork. Focus is the #1 failure point for new night shooters. Even a slight miss makes bright points look bloated, even when exposure and composition are correct.
Live view magnify and dial it in
Use live view, find the brightest star or distant light, then magnify the screen to 5x and 10x. Adjust the focus ring until the star is the smallest, sharpest point.
Take a quick test photo and zoom in on playback to confirm the result before committing to long exposures.
Why the infinity mark can mislead
Do not trust the infinity symbol on your lens as gospel. Temperature shifts and lens tolerances can move true infinity. Verify focus with live view rather than the mark.
Daylight and autofocus workarounds
If stars are faint, focus on a distant rooftop, lighthouse, or streetlight while still light outside. Switch to manual focus and tape or lock the ring so it cannot drift.
Alternatively, let the camera autofocus on a distant light, then flip to manual to hold that precise focus for the rest of the session.
Final quick checklist
- Confirm sharpness with a short test shot.
- Lock focus on the lens or tape it before long exposures.
- Re-check if temperature or lens changes—focus can shift over time.
Compose a Strong Night Sky Photo
Great night photos guide the viewer from a recognizable land feature up into the stars. Use simple anchors and clean light control to make your image feel intentional.
Use constellations to frame the scene
Pick a familiar constellation as an anchor so viewers have a reference. Apps like Stellarium or PhotoPills show where constellations will appear at your chosen time.
Align the constellation near a strong foreground line to lead the eye through the image.
Build depth with foreground objects
Foreground elements—trees, boulders, cabins, or observation towers—create scale and interest. Place these objects off-center for balance.
Start with the foreground first: confirm safe footing, set a silhouette, then frame the sky with your camera and lens.
Keep artificial light out of your shooting direction
Avoid pointing toward towns, road glare, or other photographers’ headlamps. Bright light reduces contrast and adds unwanted gradients.
Tip: ask nearby photographers to use red light and plan space to protect long exposures.
Quick workflow: pick foreground, check constellation placement with an app, take test shots, then tweak tripod height or tilt until the balance looks right.
How to Capture the Milky Way on a Clear Night
The Milky Way core is the brightest, most textured region of our galaxy and it often steals the show on dark nights.
What it is: the core is the dense, glowing center visible near Sagittarius and Scorpius. From dark sites the core reveals rich dust lanes and star clouds that make the milky way the most dramatic target in the night sky.
Plan the time and position: use apps like Night Sky, PhotoPills, or PlanIt Pro to see when the core clears the horizon in your US location. Confirm where it will sit relative to your foreground so you get a balanced composition.
Wide-angle single frame
A wide lens on a tripod gives a simple, single-frame way to capture the core. Use short exposure times to keep stars sharp and a fast lens to reduce ISO.
Multi-shot panoramas
Shoot overlapping frames with consistent exposure and lens settings, then stitch them for a wider, immersive final image. Panoramas require more time and file handling but often yield stronger composition.
| Approach | Example settings | Trade-off |
|---|---|---|
| Wide-angle single frame | f/2.8–4, 15–25s, ISO 1600–3200 | Quick, simpler files; limited field of view |
| Multi-shot panorama | f/2.8–4, 15–20s per frame, same ISO | Wider image, more files and processing time |
| Composition tip | Plan with app, place core near foreground interest | Stronger storytelling, requires precise framing |
Example: aim for a horizon-level tripod and 30–50% overlap between frames when planning a panorama.
How to Photograph Star Trails Intentionally
Star trails record hours of sky motion and can turn a clear night into sweeping arcs of light. This effect is deliberate: you record stars as they move, not as pinpoints. Planning and steady gear make the difference.
Single long exposure or many short ones?
One long exposure is simple: open the shutter and wait. It can produce continuous, smooth arcs but increases noise and risks losing the whole image to a problem.
Stacking multiple exposures is the safer way. Use repeated short exposures with the same settings and combine them in processing. This reduces noise, avoids sensor overheating, and protects against a single failure ruining your sequence.
Direction and trail patterns
Pointing north near Polaris gives tight, circular trails that center on the pole. Pointing south (or east/west) creates sweeping arcs that convey motion across the frame.
Practical starting setup
- Mount the camera on a solid tripod and lock everything down.
- Use consistent settings for every frame: fixed aperture, ISO, and exposure length.
- Capture long enough time so trails read as deliberate—usually 30–90 minutes of total capture for obvious arcs.
File handling and creative notes: stacking needs more files and some extra processing, but it yields cleaner final images. Add a dark foreground silhouette—trees, boulders, or a tower—to give scale and make the trails feel intentional.
“Stacking many shorter exposures offers control and reliability compared with a single ultra-long exposure.”
Reduce Blur and Vibration in Long Exposures
Vibration, not focus, is the usual culprit when star points look smeared in long shots. Addressing stability first is the fastest way to improve night images without changing gear.
Tripod technique and stable ground
Fully lock leg clamps and keep the center column as low as possible. Press each foot into firm ground and avoid soft or shaky surfaces.
Balance the head and make sure all mount screws are tight. A well-set tripod reduces vibration from wind and accidental contact.
Wind and mounting considerations
Position the tripod low when wind is present. Use your body as a windbreak if needed and avoid boardwalks or railings that transmit vibration.
Tip: hang a small bag from the tripod hook to add weight and improve balance in gusty conditions.
Timer and remote trigger best practices
Use a 2-second timer for single shots or a remote shutter release for long sequences. This eliminates the tiny shake that touching the camera causes.
After each exposure, review the photo at 100% on the camera screen to confirm sharpness before committing to a long run of exposures.
| Issue | Quick fix | Why it helps |
|---|---|---|
| Leg slippage | Lock clamps, lower center column | Stops slow drift and maintains framing |
| Wind shake | Lower tripod, use body as shield, add weight | Reduces movement during long exposure time |
| Trigger vibration | 2-second timer or remote release | Prevents button-induced blur for sharp stars |
“Good stability improves results without buying a new camera—it’s one of the highest ROI changes you can make.”
Control Noise and Protect Image Quality
Noise can quietly ruin an otherwise excellent night sky image if you rely on high ISO alone. Use a few focused habits to protect detail and keep stars clean in your final images.
Why higher ISO increases grain and what to do instead
Noise is the grainy texture that appears when you push sensitivity too far, especially in dark parts of the sky. Raising ISO brightens the scene but also amplifies sensor imperfections.
Try alternatives: open the aperture, move to a darker site, aim away from town light, or lengthen exposure time within tracking limits.
Stacking multiple exposures for cleaner final images
Capture many consistent exposures and combine them in processing to boost signal-to-noise. Stacking preserves faint detail while keeping peak highlights intact.
Practical tip: use the same exposure, aperture, and ISO for each frame to simplify stacking and get the best results.
Keep lenses clear: humidity, microfiber wipes, and field care
Dew and humidity fog a lens and soften stars. Carry microfiber wipes and a small lens cloth and check glass regularly during the night.
Good field habits built over years—clean glass, moisture control, and an organized workflow—often improve image quality more than swapping gear.
| Problem | Quick Fix | Impact on Image |
|---|---|---|
| High ISO noise | Open aperture / stack frames | Lower grain, clearer stars |
| Dew on lens | Microfiber wipe, lens hood, hand warmer | Sharper points, better contrast |
| Limited exposure time | Use tracker or stack short frames | Cleaner detail, less motion blur |
Simple Processing Workflow for Cleaner, More Detailed Night Sky Images
A short, consistent workflow will quickly improve the clarity and detail of your night photos.
Basic adjustments: exposure, contrast, and white balance
Import RAW files and set exposure and contrast first. Think of these moves as revealing what you captured, not recreating the sky.
Set white balance near 4000K if you used that in-camera. Then refine on a calibrated screen so colors and star tones remain true.
Noise reduction and sharpening without overdoing it
Apply restrained noise reduction primarily to dark sky areas to keep star detail intact. Use light sharpening after noise control to avoid halos or plastic-looking stars.
Tip: protect bright stars with masking when you sharpen so they stay point-like.
Light painting touch-ups for natural-looking foregrounds
If you painted the foreground, blend those frames or layers subtly so the light matches sky exposure. Feather edges and lower opacity to keep the scene believable.
Example: for Milky Way shots, add small local contrast to dust lanes while preserving overall balance and natural gradients.
| Step | Action | Why it helps |
|---|---|---|
| Import RAW | Confirm exposure, set WB | Preserves data for clean edits |
| Noise reduction | Apply to sky, protect stars | Reduces grain while keeping detail |
| Light painting | Blend and feather foreground | Makes foreground match sky light |
Keep edits modest: good processing clarifies the image and produces repeatable results you can trust.
Where to Go Next After Your First Successful Star Photo
With repeatable focus and exposure under your belt, the next upgrades should solve a single core limit: exposure length. That focused goal guides a clear, stepwise path so you know what to add and when.
Adding a tracker for 1-minute-plus exposures
A star tracker is the highest-impact upgrade after tripod nightscapes. It moves the camera to match sky motion so you can push exposure length past the Rule of 500 without trailing.
Popular entry models include the Sky-Watcher Star Adventurer and iOptron SkyTracker Pro. With a tracker you can use longer exposures, lower ISO, and bring out fainter detail in your images.
Wide lenses remain forgiving on a tracker, but longer focal length demands better polar alignment and careful balance of the head and payload.
When a telescope and tracking mount become worth it for deep-sky objects
Switching to a telescope and dedicated tracking mount opens the world of nebulae and galaxies. Refractors in the ~400–600mm range are common first telescopes; Schmidt-Cassegrains can reach 2000mm+ for small, detailed objects.
This stage requires precise polar alignment, accurate tracking, and proper balance of the rig. You’ll also spend more time on calibration frames and post-processing.
Expect a steeper learning curve and greater time investment, but also a much wider range of targets and richer results.
Tip: add upgrades progressively—tracker first, then a tracking mount and telescope once you’re comfortable with consistent tripod images.
Conclusion
Wrap-up: the simplest path to better night photos is planning, steady technique, and small, repeatable steps. Plan a new-moon night at a low-light site, point the camera where the sky is darkest, and lock the tripod before you shoot.
Use a wide aperture, set shutter time based on focal length, and choose ISO to manage noise rather than guesswork. Confirm focus with live view, take a quick test shot, then commit to the full exposure.
Start small: aim for one clear Milky Way or pinpoint-star shot before trying panoramas or long stacks. For a practical next step, pick the next new moon weekend, check lightpollutionmap.info, and plan one framed shot with a simple foreground.