White balance shapes the color cast of your shots after dark. Small shifts can turn skies blue, orange, green, or magenta, and that changes the mood of your images instantly.
At night, use manual Kelvin control (roughly 2000K–10,000K) to steer the look. Auto modes let the camera guess “white,” which can lead to inconsistent results across a series, panorama, or timelapse.
This guide shows what white balance does, how Kelvin values behave, and which camera settings matter after dark. It also offers a repeatable workflow so your shots stay consistent.
Decide early: aim for a neutral render or pick a creative color grade to reinforce a nighttime mood. Shoot RAW to keep more color data so adjustments are easier in post.
For practical tips on color correction and editing to improve your images, see this short guide on color correction and post-processing.
Why White Balance Matters in Night Photography
How your camera reads available light after sunset determines the color cast and the mood of an image. Small shifts affect both temperature (blue–orange) and tint (green–magenta), so you control the overall feel.
How color shifts work in low light
White balance moves the whole scene toward cool or warm tones and nudges tint toward green or magenta. That changes skies, shadows, and highlights in a single step.
Correct or creative: choosing the right look
Correct does not always equal best. Neutralizing a streetlight cast can remove atmosphere. Warmer tones can enhance cabin glow; cooler tones can suggest later hours.
Why the eye and sensor disagree
“Your eyes adapt to guide you; the sensor records raw color.”
Human vision normalizes scenes to help you see. The camera records the true tint hitting the sensor, which is why images can look different from what you felt on site.
- Use consistent settings when shooting a series so colors stay stable.
- Keep creative choices intentional—wild shifts make images feel accidental.
For a practical how-to on locking in consistent color, see this how-to guide for white balance.
Understand Color Temperature and the Kelvin Scale Before You Shoot
Understanding Kelvin numbers helps you predict how a scene will lean warm or cool before you press the shutter.
Color temperature describes the blue-to-orange axis of light and is measured in Kelvin so photographers can speak precisely about tone. Think of it as a numeric tag for how warm or cool a light source reads.
Warm vs cool light and what Kelvin means
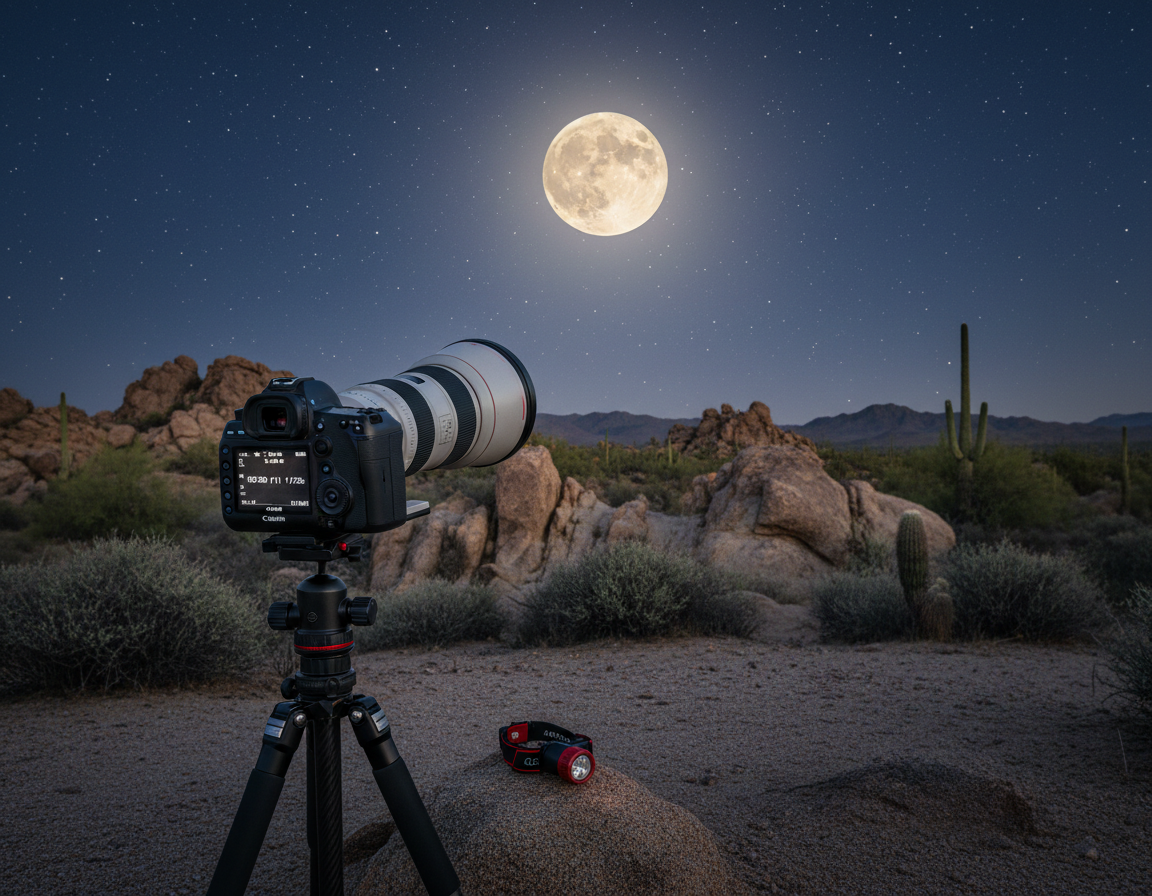
Use these practical reference points as starting values: daylight sits near 5500K, incandescent bulbs about 3200K, and moonlit scenes often fall around 4000–4200K.
Common reference points and quick rules
Overcast days trend cooler—often 6000–8000K—which explains why a daylight preset can leave images looking too warm when ambient sky glow shifts the scene.
- Daylight ~5500K — baseline for mid-day sun.
- Incandescent ~3200K — warm indoor bulbs.
- Moonlight ~4000–4200K — many moonlit landscapes.
Kelvin numbers are starting points, not rules. Watch the sky: a muddy orange glow usually signals light pollution; a deep blue cast can feel stylized unless you want that effect. Build a memory of how different conditions and days push the scale a bit warmer or cooler so you can pick the right temperature in camera.
White Balance Camera Settings You’ll Use After Dark
When light gets scarce, three practical in-camera choices decide a scene’s color. Pick one that fits speed, consistency, or full manual control.
How Auto makes the call
Auto white balance analyzes some of the brightest pixels and guesses what should be neutral. It then applies the opposite cast to correct the frame.
This works for quick snaps, but auto white can misread glints, street lamps, or neon and shift colors between frames.
Preset modes for fast, known looks
Presets like Daylight, Tungsten/Incandescent, Cloudy, Shade, and Fluorescent apply fixed corrections. Use them when a common light source dominates the scene.
Tungsten/Incandescent cools warm bulbs. Cloudy and Shade warm cool skies. Fluorescent reduces some green casts.
Kelvin (K) mode for repeatable control
Kelvin mode gives manual control from roughly 2000K to 10,000K. Set a number and the result stays predictable across a series.
- Auto WB — convenience for changing scenes.
- Presets — quick, reliable “known looks.”
- Kelvin — the best control for consistent sets.
“Auto modes may hunt when bright elements enter or leave the frame.”
For timelapses or series, move to Kelvin to avoid frame-to-frame shifts. The next section explains when to avoid auto white and why consistency matters.
When to Avoid Auto White Balance at Night
Relying on automatic controls at dusk and later can cause unpredictable color jumps in a set of frames.
Key drawback: an auto white balance or similar auto mode can shift tone from frame to frame. That flicker becomes obvious when you stitch panoramas, compile star trails, or render a timelapse.
Why the camera gets fooled
Moving clouds, passing headlights, or a bright sign can alter the brightest pixels the camera uses to guess neutral. That makes the camera change white estimates mid-sequence.
Practical timelapse lesson
Locking a fixed preset or a Kelvin value stops subtle warm/cool flicker across the whole run. This saves many hours of color matching in post and keeps your final video smooth.
- Switch from auto white to a fixed mode before you start.
- Even when you shoot RAW, matching large batches of images is tedious.
- If color jumps on playback, stop and set a fixed value.
White Balance Night Photography: A Step-by-Step In-Field Workflow
A quick, repeatable routine keeps colors consistent and saves time in post. Start by composing and setting exposure, then make white balance a deliberate step before you take multiple frames.
Start with a baseline and refine with test shots
Set Kelvin near 4000K as a safe baseline. Take a short test and check the sky, shadows, and any artificial light.
Adjust for the “night feel”
If the scene reads too warm or like dusk, lower Kelvin toward ~3800K to cool it. If it looks too blue and sterile, raise it slightly for a more natural tone.
Read the scene
Scan for moon phase, haze, snow, or nearby towns. Urban glow may need much lower Kelvin (~2800K) to control orange casts.
Lock settings for consistency
Once you like the result, keep that value for the whole set. Record the exact Kelvin and conditions so your next landscape shoot is faster.
“Set a baseline, test, then lock — consistency beats guessing.”
Scenario-Based Settings for Night Sky, Landscapes, and Mixed Light
A few simple presets and Kelvin targets will reliably tame orange city glow, lime aurora, or cool moonlit scenes.

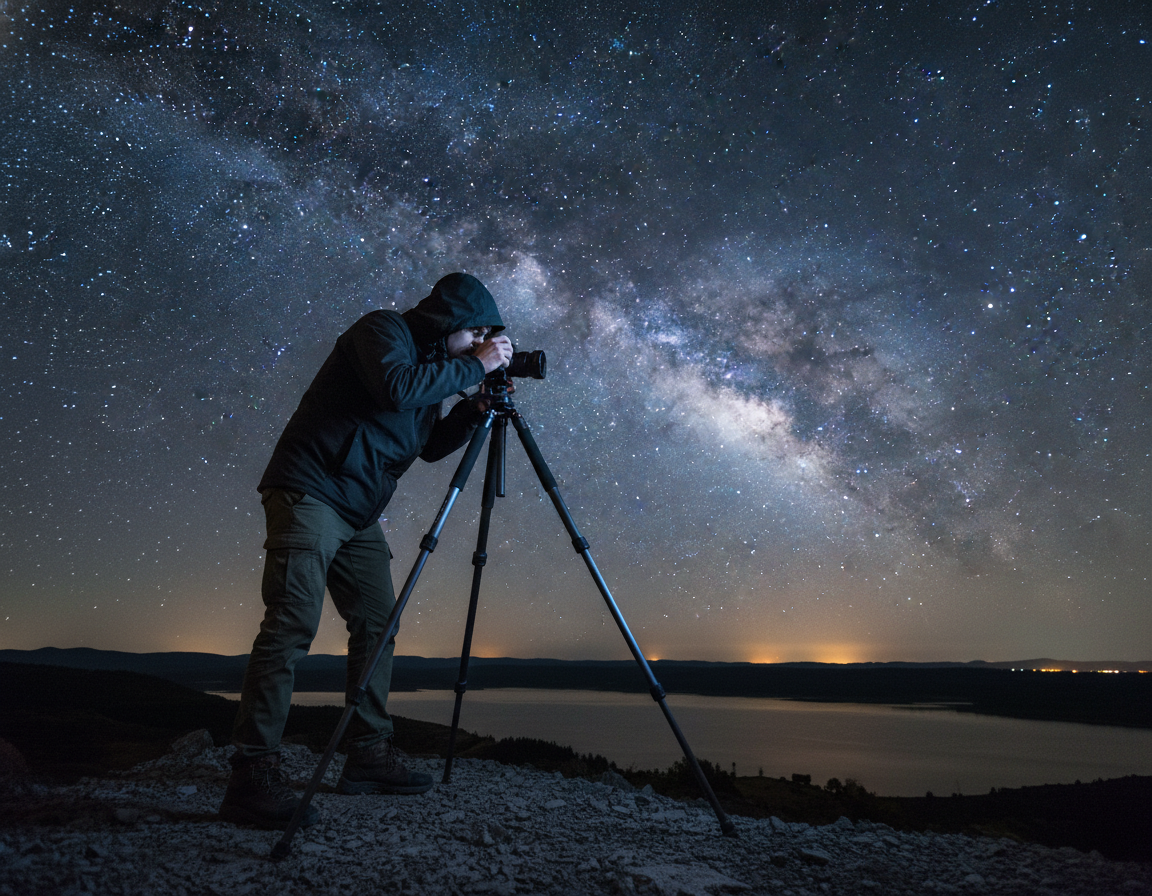
Milky Way and clear sky nights
For the Milky Way, Auto WB can give warm, pleasing colors if you only want quick results.
When you need consistent star colors across frames, try Tungsten (~3200K) or a custom Kelvin to cool a warm cast without killing landscape detail.
Moonlit landscapes
Moonlight often sits near ~4000–4200K. Start there, then nudge the temp if the scene looks too blue or too warm.
This gives natural tones for sky and land while keeping highlights crisp.
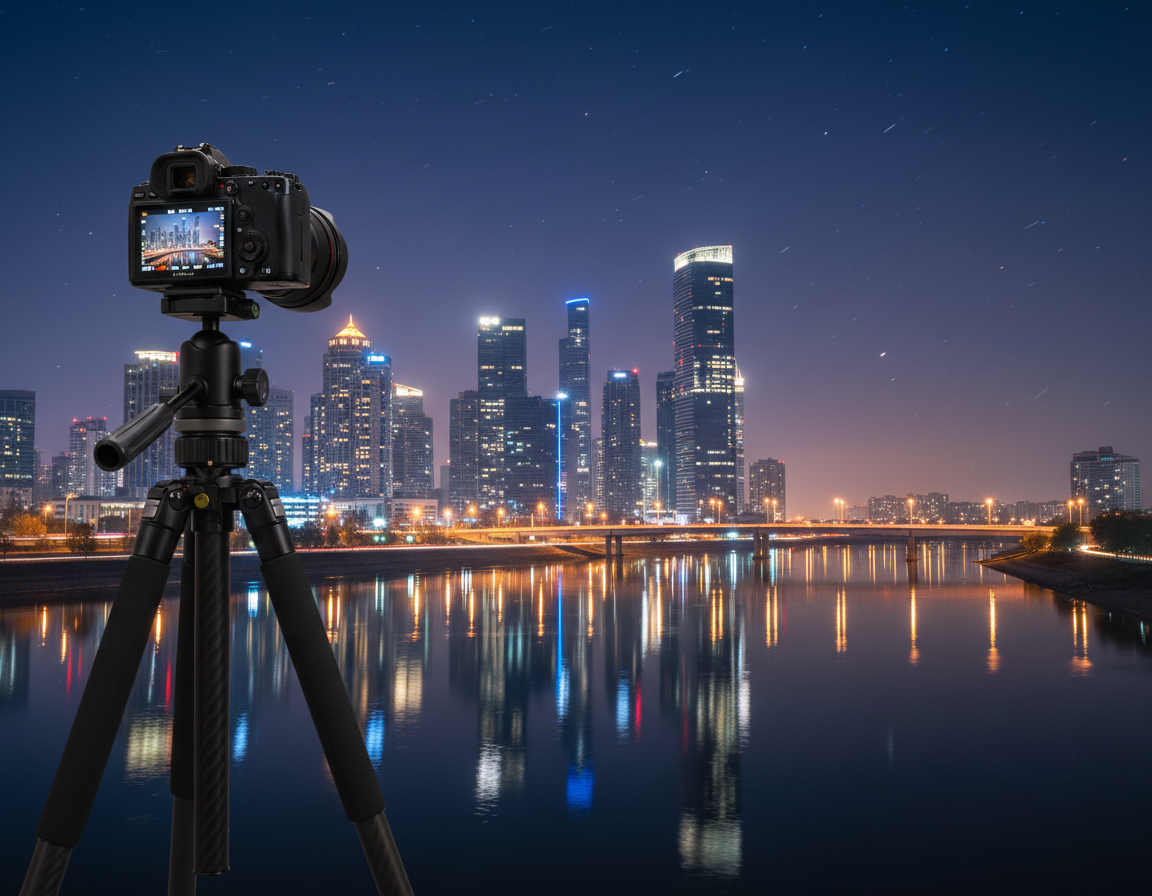
Light pollution and city glow
Push Kelvin lower (near ~2800K) to control orange sodium-vapor casts. Clouds make this worse by reflecting urban light, so lower the temp further when clouds amplify the glow.
Northern Lights and color preference
Try White Fluorescent to tame lime greens toward turquoise while preserving purples. This preset can make aurora colors feel cleaner and more intentional.
Cloudy night skies
Swap presets or test custom Kelvin values to turn muddy orange clouds into nicer pinks, purples, or cooler neutrals. Always pick the dominant look and keep it for the whole set when mixed light appears.
| Scenario | Starter Setting | Why it helps |
|---|---|---|
| Milky Way / clear sky | Tungsten ~3200K or custom Kelvin | Cools warm sky, keeps star color consistent |
| Moonlit landscape | 4000–4200K | Mimics moon temp for natural tones |
| City glow / light pollution | ~2800K | Reduces orange casts from streetlights |
| Northern Lights | White Fluorescent (~4000K) | Tames lime greens toward blue-green |
“Pick the dominant light you want and keep that setting across the shoot for consistent results.”
Shoot RAW for Better White Balance Adjustments Later
RAW files act like digital negatives, holding detail that makes bold color edits safer. You get far more dynamic range and color data than a compressed file, so heavy temperature and tint moves stay clean.
RAW vs JPEG: why RAW preserves color information
Unlike a JPEG, a RAW file stores linear sensor data. JPEG compression discards subtle gradients and clips shadow detail.
That means when you push temperature or tint sliders, RAW files keep smoother skies and recover shadow color without banding.
How sliders map to Kelvin in editing apps
Most editors show a temperature control mapped to Kelvin and a tint slider for magenta–green shifts. Small moves are harmless; extreme edits of several thousand K can slightly affect color fidelity.
- Workflow tip: shoot RAW, set a practical in-camera preview value, then fine-tune globally in post.
- Lock your in-camera settings to reduce the difference between frames even when editing files later.
- When learning, bracket a few frames at different Kelvin values and review them to build confidence.
“Shoot RAW when possible—it gives you the latitude to make stronger adjustments without degrading images.”
Fine-Tuning Color: Temperature vs Tint (Magenta-Green)
Temperature and tint are two separate levers that shape how colors read after dark.
Temperature moves tones along the warm–cool axis. Tint corrects green or magenta casts that temperature alone can’t fix. Treat them as distinct adjustments when you set camera values.
When tint adjustments matter most
Mixed light scenes—LEDs, sodium streetlamps, and neon signs—often need tint help. If neutral grays or white signage look off, tweak tint until they appear natural.
How mixed sources introduce green or magenta shifts
Some fluorescents and LEDs introduce a greenish cast. Deep shadows or certain sensors may lean magenta. Large shifts can cause banding in compressed files, so be conservative.
- Set a reasonable temperature first, then check neutrals.
- Adjust tint subtly; small moves go farther than big jumps.
- Use a preset like Fluorescent or a fixed Kelvin mode to keep colors consistent across frames.
“Decide what must stay natural, accept some colored light, and keep that choice steady across the set.”
Conclusion
A strong, repeatable method makes color control simple and reliable for night photography.
Core takeaway: white balance is one of the biggest levers in low-light work. It decides whether a scene reads natural, too orange, or oddly blue and green.
Start around ~4000K as a practical baseline for many moonlit or mixed scenes. Adjust temperature and color temperature up or down for moonlight, city glow, or your creative intent.
Avoid auto when you need consistency across a series, timelapse, panorama, or star-trail sequence. Pick a mode on your white balance camera, take a test frame, refine, then lock settings for the rest of the session.
Shoot RAW to keep editing flexible. There’s no single correct value—build a repeatable routine that helps you control tint and color temperature each time you go shooting.