Tripod night photography is about one clear idea: lock your gear down so movement stops ruining shots. With the right support, you can get cleaner city frames and sharp Milky Way images tonight. Modern phones and dedicated cameras both benefit when vibration is controlled.
Why it matters: low-light work uses long exposures, so tiny bumps that do not show in daylight will blur results after dark. Long shutter times amplify even small vibrations, so stability becomes the foundation of better results.
This guide walks you through choosing support, setting it up on uneven ground, dialing camera settings, and adding accessories that cut shake. Expect practical steps you can use right away, including real gear notes like the 3 Legged Thing holder and an Arca-Swiss base.
This primer is for anyone in the United States shooting stars, cityscapes, or long exposures. The real goal is simple: consistently sharp images and higher overall quality without cranking ISO.
Why Tripod Stability Matters for Night Photography
A stable setup turns long exposure attempts from luck-based into predictable results. For long exposure work after dark, even a tiny nudge blurs points of light and softens detail.
How camera shake ruins long exposures and star trails
Camera movement shows up as smeared highlights, mushy stars, and softened foregrounds that lose texture.
For star trails, tiny jitters break smooth arcs into jagged segments, ruining the intended flow of the image.
When a stable support beats handheld high ISO
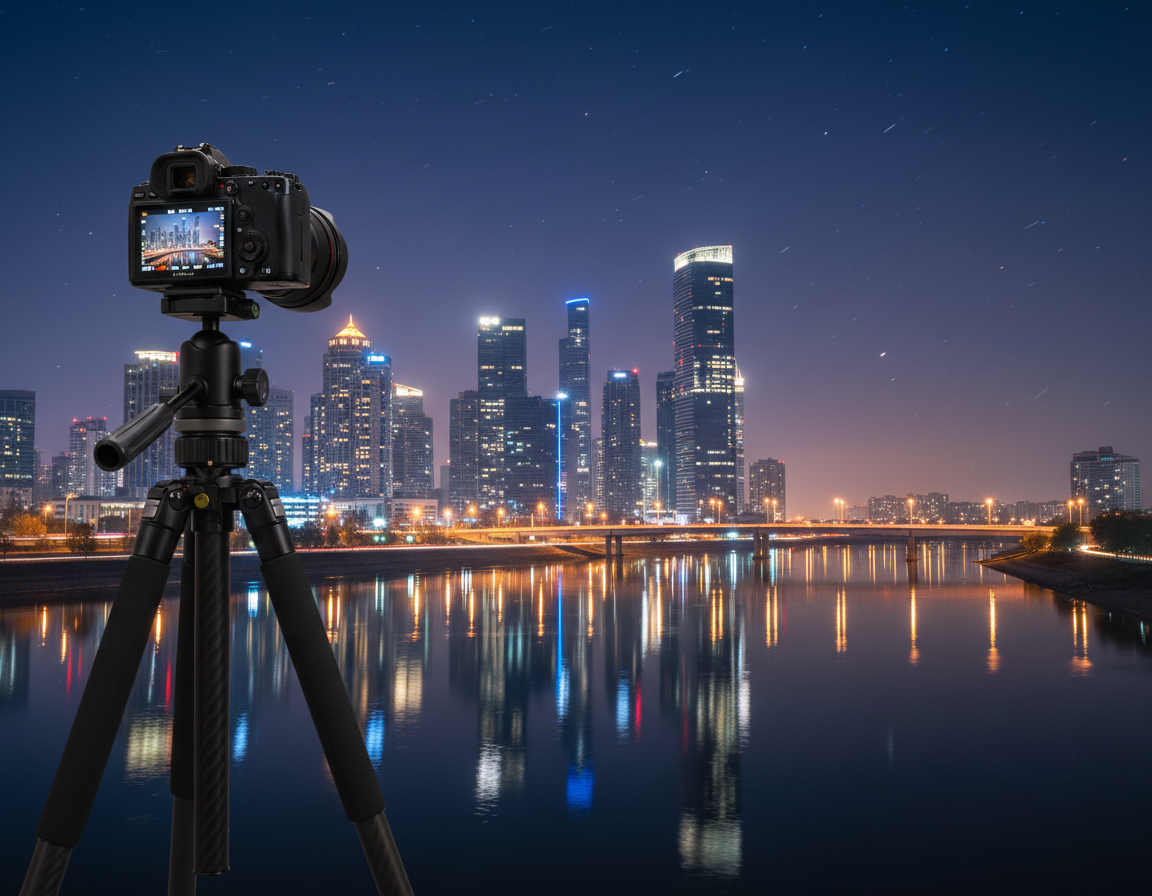
Using a solid support lets you choose lower ISOs: dark-sky work often sits at ISO 3200–6400 while cityscapes use ISO 800–1600.
Keeping ISO lower reduces noise and preserves shadow detail, so shots look cleaner and retain dynamic range.
“Stability isn’t just the legs — touching the camera, wind, and the surface under your feet all matter.”
- Smeared points of light, softened foregrounds, and mushy star shapes are visible signs of shake.
- The longer the exposure, the more visible small vibrations become in final images.
- If you need multi-second shutters or consistent framing for stacking, a support outperforms handheld.
- Remember: controls, wind, and ground can introduce blur even with a solid base.
| Scenario | Common ISO Range | Why stability helps |
|---|---|---|
| Dark sky Milky Way | ISO 3200–6400 | Allows longer exposures with less noise and sharper stars |
| Cityscape long exposure | ISO 800–1600 | Cleaner highlights, smoother light trails, and crisper foregrounds |
| Star trails (stacked or single) | ISO 800–3200 | Consistent framing prevents broken or jittery trails |
| Handheld alternative | ISO 3200+ | Higher noise and lower shadow detail compared to stable long exposures |
Next: the guide will cover gear choice and setup techniques that convert a basic support into a truly stable shooting platform.
Choosing the Right Tripod for Tripod Night Photography
Picking the right support means fewer missed shots and more usable frames on long exposures. Decide where you sit on the cost–weight–stability triangle before buying.
Balancing cost, weight, and stability
Light travel designs save your shoulders but often trade rigidity for convenience. For most night work, prioritize stability even if it costs more or adds a pound or two.
Why carbon fiber is a go-to
Carbon fiber legs shave weight and damp vibrations better than aluminum. On long hikes the difference is real, and carbon doesn’t feel as cold on your hands during winter shoots.
Load capacity, height, and low-angle flexibility
Choose a support rated well above your camera plus lens to reduce flex in wind. For example, a Feisol CT-3342 folds to 23.2 in, weighs 2.5 lb, and is rated 55 lb — a solid balance of portability and performance.
Taller setups help composition but can amplify vibration. Ensure the legs lock tight and that the design lets you drop low for landscapes and dramatic foregrounds.
“Test rigidity and lock strength; don’t buy based on max height alone.”
- Prefer fewer leg sections for stiffness.
- Pick higher load ratings to add a stability margin.
- Try the rig with your camera and heaviest lens before committing.
Tripod Features That Actually Help After Dark
In low light, tactile feedback and rugged parts become the features that protect your shots. What feels solid at arm’s length matters when you can’t see details. Fast deployment, clear locks, and durable materials reduce mistakes when you’re shooting long exposures.
Twist locks vs flip locks
Flip locks give obvious, audible feedback and are easy to close with gloves, but they can pinch fingers and snag clothing in the dark. Twist locks deploy quickly and resist accidental opening, though they need regular cleaning in sandy conditions and a habit of double-checking.
Leg sections and rigidity
Fewer leg sections mean thicker tubes, fewer joints, and less flex. That extra stiffness shows up as crisper images and steadier performance in gusts.
Center columns and vibration
Raising the center column increases leverage and vibration. Keep it down whenever possible to protect shutter precision and image sharpness.
Hooks, hanging weight, and durability
A hook can add mass for calm conditions, but a swinging pack will transfer motion in wind. Choose metal locks and fewer plastic parts to survive travel, sand, and rough handling.
“Choose gear that tells you it’s secure by feel — in the dark, confidence beats complexity.”
| Feature | Advantage | Night tradeoff |
|---|---|---|
| Flip locks | Clear locked feedback, quick visual check | Can pinch, snag clothing in low light |
| Twist locks | Compact, fast deployment | May be left partially unlocked; needs cleaning |
| Fewer leg sections | Higher rigidity, less flex | Less compact for travel |
| Center column | Extra height | Adds vibration; avoid when shooting long exposures |
Night workflow tip: Place small glow or reflective tape on leg joints so you can find and check locks without using a bright light.
How to Set Up Your Tripod for Maximum Stability in Wind and Uneven Terrain
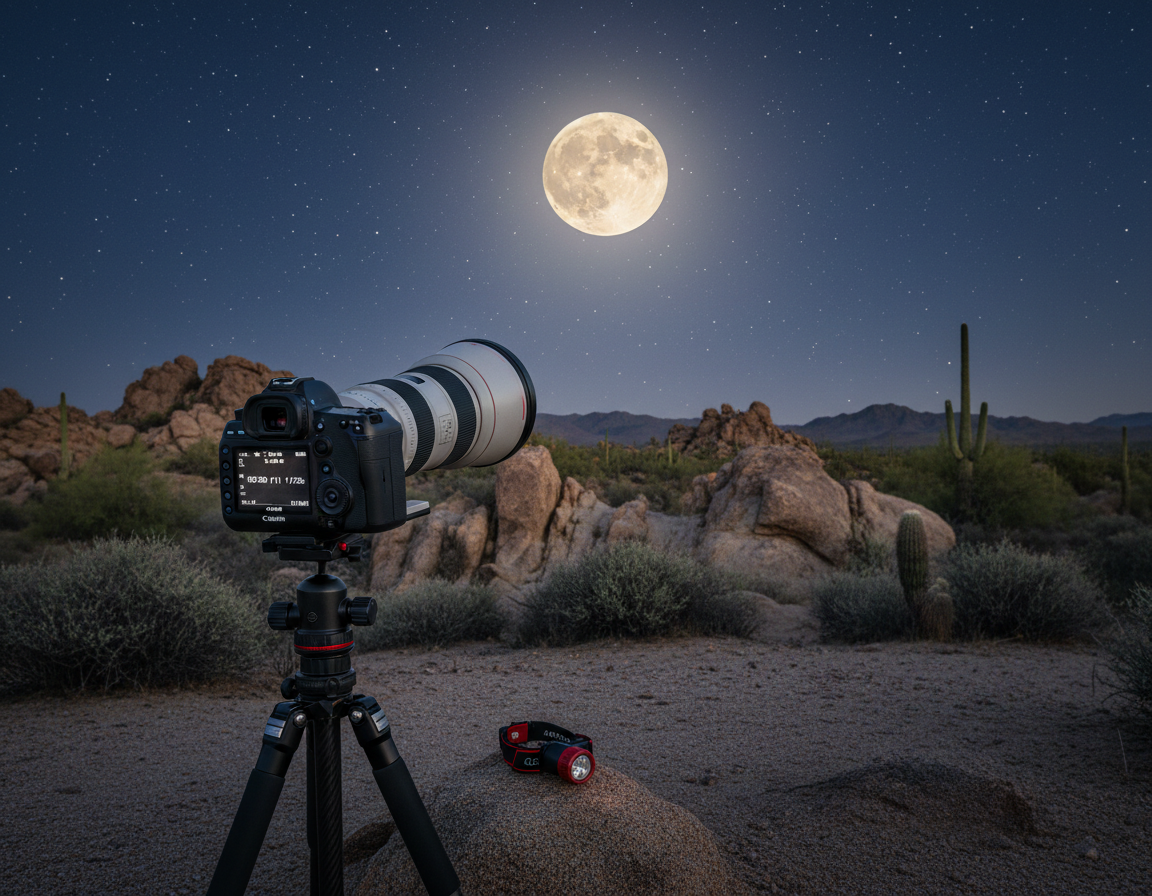
Stability starts with how you plant the legs and set the base before you raise the camera. A few deliberate moves make long exposure work far more predictable. Proven rigs in places like the Mojave Desert and Owens Valley can hold steady for stacked Milky Way frames and hour-long star trails when set up correctly.
Leg placement, stance width, and thickest sections first
Step-by-step setup:
- Widen the stance; a broad footprint resists gusts and creep during multi-frame sequences.
- Level the base so the head sits true; small angles add torque and blur.
- Extend the thickest leg sections first to maximize rigidity, then the thinner ones if needed.
Terrain tips: sand, rock, snow, and grit
On sand or snow, press feet in firmly and dig shallow trenches for the legs. On rock, use rubber feet or wedges to avoid slipping. In deserts, keep twist locks clear of grit and check them after every reposition.
Reduce vibrations from wind, footsteps, and controls
- Keep the center column down and avoid hanging bags in wind.
- Use a remote or timer so you do not touch the shutter during exposures.
- Stand clear while the shutter runs and shield the camera when possible.
“Stable framing is the reason stacked photos and long sequences align cleanly.”
Final check: leg locks tight, head locked, column down, straps tucked, nothing flapping. Then press the shutter.
Tripod Head and Quick Adjustments for Night Compositions
Small head slips, not leg flex, often steal the sharpness from otherwise solid long-exposure shots. The head is the final contact point between your camera and the world. Pick one that locks firmly and resists torque from wide lenses and heavy bodies.
Ball heads: speed vs precision
Ball heads let you reframe fast in low light. Models like the Acratech GP-s and Really Right Stuff BH-55 are popular because they lock reliably while still being easy to reposition.
Warning: if you under-tighten, the ball can droop and ruin a long shutter. Tighten carefully and test the hold before exposing for minutes.
Leveling and horizon control
Keep horizons level for landscapes and cityscapes. Use an in-camera level when available, or level the head platform before final framing.
Rough-frame with a dim headlamp, lock the main control, then fine-tune with small nudges to keep alignment steady.
“Even the best legs can’t save a composition if the head creeps after you lock it down.”
- Why the head matters: it handles camera torque from heavy lenses and keeps composition steady during long exposures.
- Workflow: rough frame with low light, lock, fine-tune, check level, then start the shutter.
- Quick checklist: loosen one control at a time, keep a hand on the camera, then fully re-lock before shooting.
| Issue | Fix | When to check |
|---|---|---|
| Head creep / droop | Tighten main clamp; test with gentle pressure | Before each multi-second exposure |
| Horizon not level | Use in-camera level or bubble; adjust platform | After rough framing, before locking |
| Torque from wide lenses | Use higher-rated head (e.g., RRS BH-55) and shorter center column | When mounting heavy lenses or doing long shutter runs |
For a practical deep-dive on stabilizing long exposures and consistent framing, see this useful guide on long-exposure workflows: long-exposure setup tips.
Dial In Camera Settings for Sharp Long Exposures
Begin with sensible shutter and ISO choices so each shot produces crisp sky detail and low noise. Use a simple baseline, test, then adjust for your lens and location.
Shutter speeds, seconds, and when stars start to streak
Start with shutter times in the 10–25 seconds range for many wide-angle night sky scenes. This range keeps stars as points for most lenses.
Remember: as exposure seconds increase, Earth’s rotation makes stars streak. Longer shutter times create trails instead of points, so shorten the shutter when you need pin-sharp stars.
ISO settings for dark skies vs city light
Dark skies: use ISO 3200–6400 when you need more sensitivity to pull out Milky Way detail.
Cityscapes: choose ISO 800–1600 to protect highlights and reduce noise from bright light sources.
Aperture and lens choices
Open wide (f/1.4–f/2.8) to gather more light quickly. If your lens is soft in the corners wide open, stop down one stop for better edge sharpness.
Tip: faster lenses reduce required ISO and shutter time, improving overall image quality and performance.
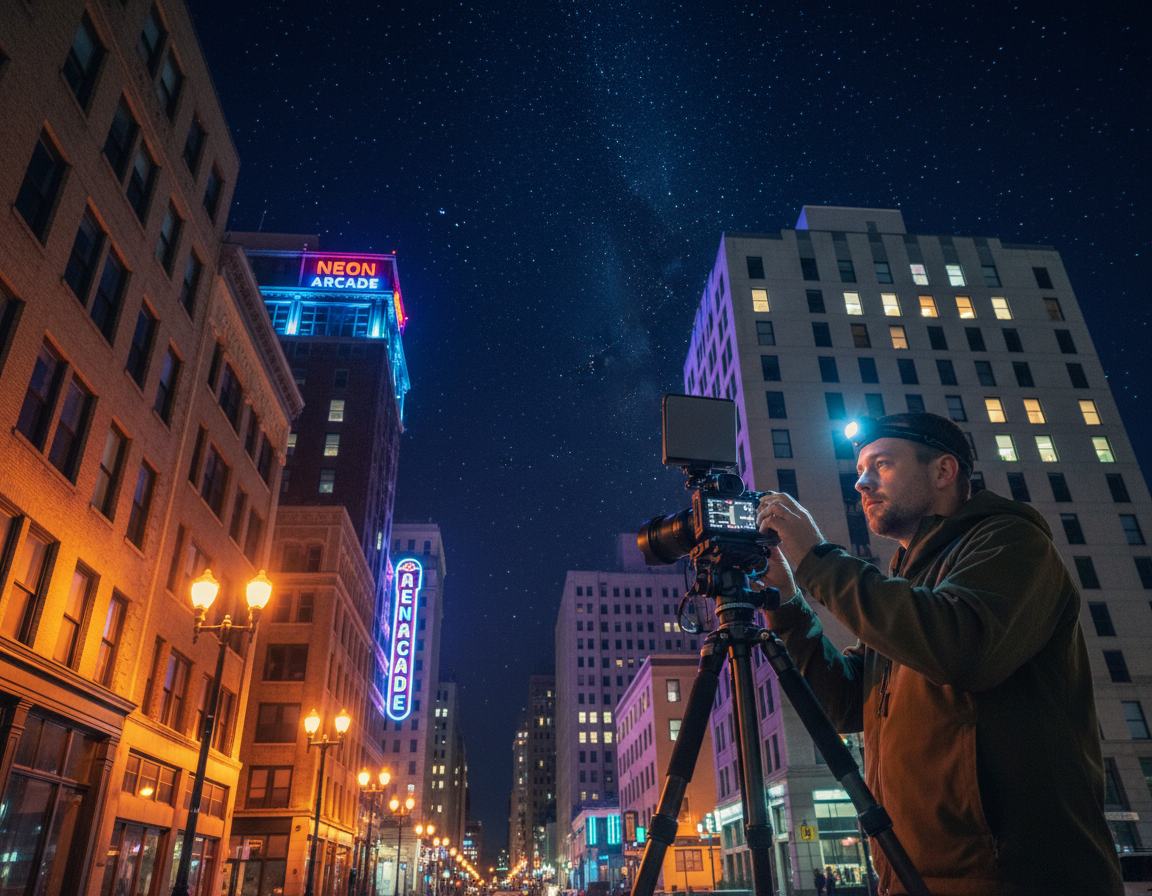
Manual focus workflow with a headlamp
Use a dim headlamp in red mode to find controls, then switch it off. Use magnified live view to focus on a bright star or distant light.
Lock focus, then re-check after temperature changes. A small focus shift can ruin long exposures if not verified.
“Once settings are dialed, avoid touching the camera—use a remote or the self-timer and let the support do the work.”
| Setting | Practical baseline | Why it matters |
|---|---|---|
| Shutter | 10–25 seconds | Keeps stars sharp for many wide-angle shots |
| ISO | Dark sky: 3200–6400; City: 800–1600 | Balances sensitivity with noise and highlight control |
| Aperture | f/1.4–f/2.8 (stop down if needed) | Maximizes light; small stop improves corner clarity |
Noise and quality tradeoff: a steady support lets you avoid extreme high ISO and preserve detail in gradients. Use remote release and leave the camera untouched during exposures for best results.
Capturing Star Trails, Milky Way, and Night Sky Sequences on a Tripod
Choose a workflow—one long exposure or many short frames—and you control noise, highlights, and risk.
Single long exposures can produce continuous trails with one shutter press. They work well when your sensor and lens handle heat and highlights cleanly.
Stacking many shorter exposures is safer. A common Milky Way workflow is 15–20 consecutive frames at 15–20 seconds each. This reduces noise and lets you discard a frame ruined by a gust.
Planning long trails and extended sessions
For two-hour star-trail sessions, plan battery life and disable unnecessary screen use. Turn off wireless features and dim displays.
Fully tighten head clamps and leg locks before you start. Keep the support weighted and avoid touching the rig once the sequence runs.
Rig discipline and environmental risks
- Rig discipline: do not adjust the support, kick legs, or touch the camera during a run.
- Wind: can introduce micro-movement—shield the setup and add mass if calm weight helps.
- Ground settling & condensation: check stability and expect subtle shifts over hours; account for dew with covers when needed.
“A locked-down support makes long exposures predictable and repeatable, not a matter of luck.”
Tripod Techniques for Light Painting and Night Landscape Photography
The first rule for adding light to a landscape is simple: fix the camera in place, then paint with intent. Lock composition and focus first so every pass produces repeatable results.
Stabilize first, then add light
Set the support, level the head, and confirm focus before you touch any light source. Use a remote or the self-timer to avoid contact with the rig when the shutter opens.
Core method: lock framing, take a test exposure, then introduce light in controlled bursts. That keeps foreground illumination consistent across multiple shots.
Consistency methods for repeatable illumination
Keep distance, angle, and duration of your light source consistent. Mark spots on the ground or use a fixed walking path so each pass lights the same area.
Try one variable at a time—change intensity, direction, or exposure alone—so you learn how each setting alters the image quality.
Managing mixed light and avoiding headlamp flare
Balance warm campfire tones, moonlight, and LED panels by adjusting white balance and light placement. Use gels on LEDs to match colors when needed.
Safety and quality reminder: your headlamp is essential for setup, but turn it off or shield it before the shutter opens to prevent accidental streaks and flare.
“Lock the frame, then paint deliberately—repeatable light makes stronger images.”
| Challenge | Practical fix | When to apply |
|---|---|---|
| Patchy foreground | Standardize path and distance for your light source | Every take |
| Mixed color casts | Use gels or tweak white balance | During test exposures |
| Clipped highlights | Reduce light intensity or shorten exposure | When bright areas clip on the histogram |
Accessories That Improve Stability and Results at Night
A few targeted items will keep your rig steady, your shutter controlled, and your batteries alive through long runs. These small additions reduce blur, extend sessions, and clean up color when the sky is brightened by nearby lights.

Remote shutter release vs self-timer
Remote releases remove the physical tap. That prevents blur on long exposures and is essential for bulb mode beyond 30 seconds.
Self-timers work for single frames (2–5 seconds) but slow repeat shooting. Remotes win for repeated shots, faster workflows, and precise control of shutter time.
Extra batteries and cold-weather planning
Cold drains power quickly. Carry spares in an inner pocket to keep them warm and swap before levels fall.
Expect cameras and phones to use more energy when shooting long exposures and running apps.
Natural night filters and when to use them
Field filters from NiSi and LEE reduce light pollution and restore natural color and contrast near towns and skylines.
Use them in suburban glow, skyline spill, or near industrial lighting to get cleaner in-camera results.
Smartphone workflow on a support
Mount a phone for star maps, planning apps, and safety. Holders that adapt to an Arca-style base let phones ride on the same support as cameras.
“Remote, spare batteries, and a small cloth will keep a session running longer and cleaner.”
- Packing checklist: remote shutter, spare batteries, small microfiber cloth, compact red light.
- Consider a phone holder and sky-planning apps for framing and navigation.
- For more accessory ideas, see this short list of practical items: essential tripod accessories.
Conclusion
Stable support is the single most effective change you can make to get consistently sharper long exposures and cleaner files. A firm base improves results for cityscapes, landscape work, and the night sky. It also makes stacked Milky Way frames and long-duration star trails repeatable.
Buying tip: choose the most stable support you’ll realistically carry—favor high load ratings and durable construction over flashy height claims. Carbon fiber helps with weight and damping on long sessions.
Setup matters: wide stance, deploy thick leg sections first, keep the center column down, and lock the head firmly. Match shutter, iso settings, and aperture to control star streaking, noise, and depth of field.
Use remotes, spare batteries, and filters to solve real problems. On your next outing, commit to one stability upgrade—better setup, a remote, or a sturdier support—and compare the difference in your photos and images.